March 2021 / Jaipur Blue Pottery, India
Experiments in Jaipur
Early summer this year I trained under Ram Gopal Saini and his daughter, Garima at their quaint Blue Pottery workshop in Sanganer, Jaipur, India. Having lived in Rajasthan for most part of my childhood, I had come across blue pottery in some form or another. It was only natural then for me to pick it as the first of the many pottery-driven crafts I hoped to visit, learn more about and document for my own cause and perhaps, one day for someone else.
Blue Pottery as a craft first originated in Iran but spread in Delhi and Agra via Afghanistan. Imported via Mongol artisans, who mixed their knowledge of Chinese glazing technology with Persian decoration, it is primarily identified by the vibrant-blue, underglaze surface, decorated with motifs of geometric, floral, and animal patterns.
The craft flourished in 17th century India and disappeared again thereafter were it not for Kripal Singh Shekhawat, who in 1963 pioneered its revival in Jaipur with the support of patrons like Maharani Gayatri Devi. Today, this traditional craft is lives, adapts, and keeps evolving.
For three weeks in March, I learned more about the craft and had the chance to develop some of my own works at the workshop. I was assisted by other highly skilled craftsmen in the workshop, namely Jagdishji, Nandlalji, Sunitaji, and Chotelalji. Without their contribution my experiments in Jaipur would not have been possible.


The Dough
Most people understand pottery as making something out of this mouldable material we commonly call ‘clay.’ Blue pottery does not use clay, it uses ‘Quartz’, a mineral, that when you touch feels like fine stone powder. Quartz unlike common clay cannot be shaped by hand, it makes the use of molds necessary. The molds are made at the workshop from plaster of paris.
I consider myself a hand-builder, because I use bits of clay, rolled in my hands to build entire surfaces, a technique called coiling. While working in this way requires some effort, blue pottery which uses molds still is handiwork and a process no less laborious at that. Especially since it involves the production of the material you are working with.
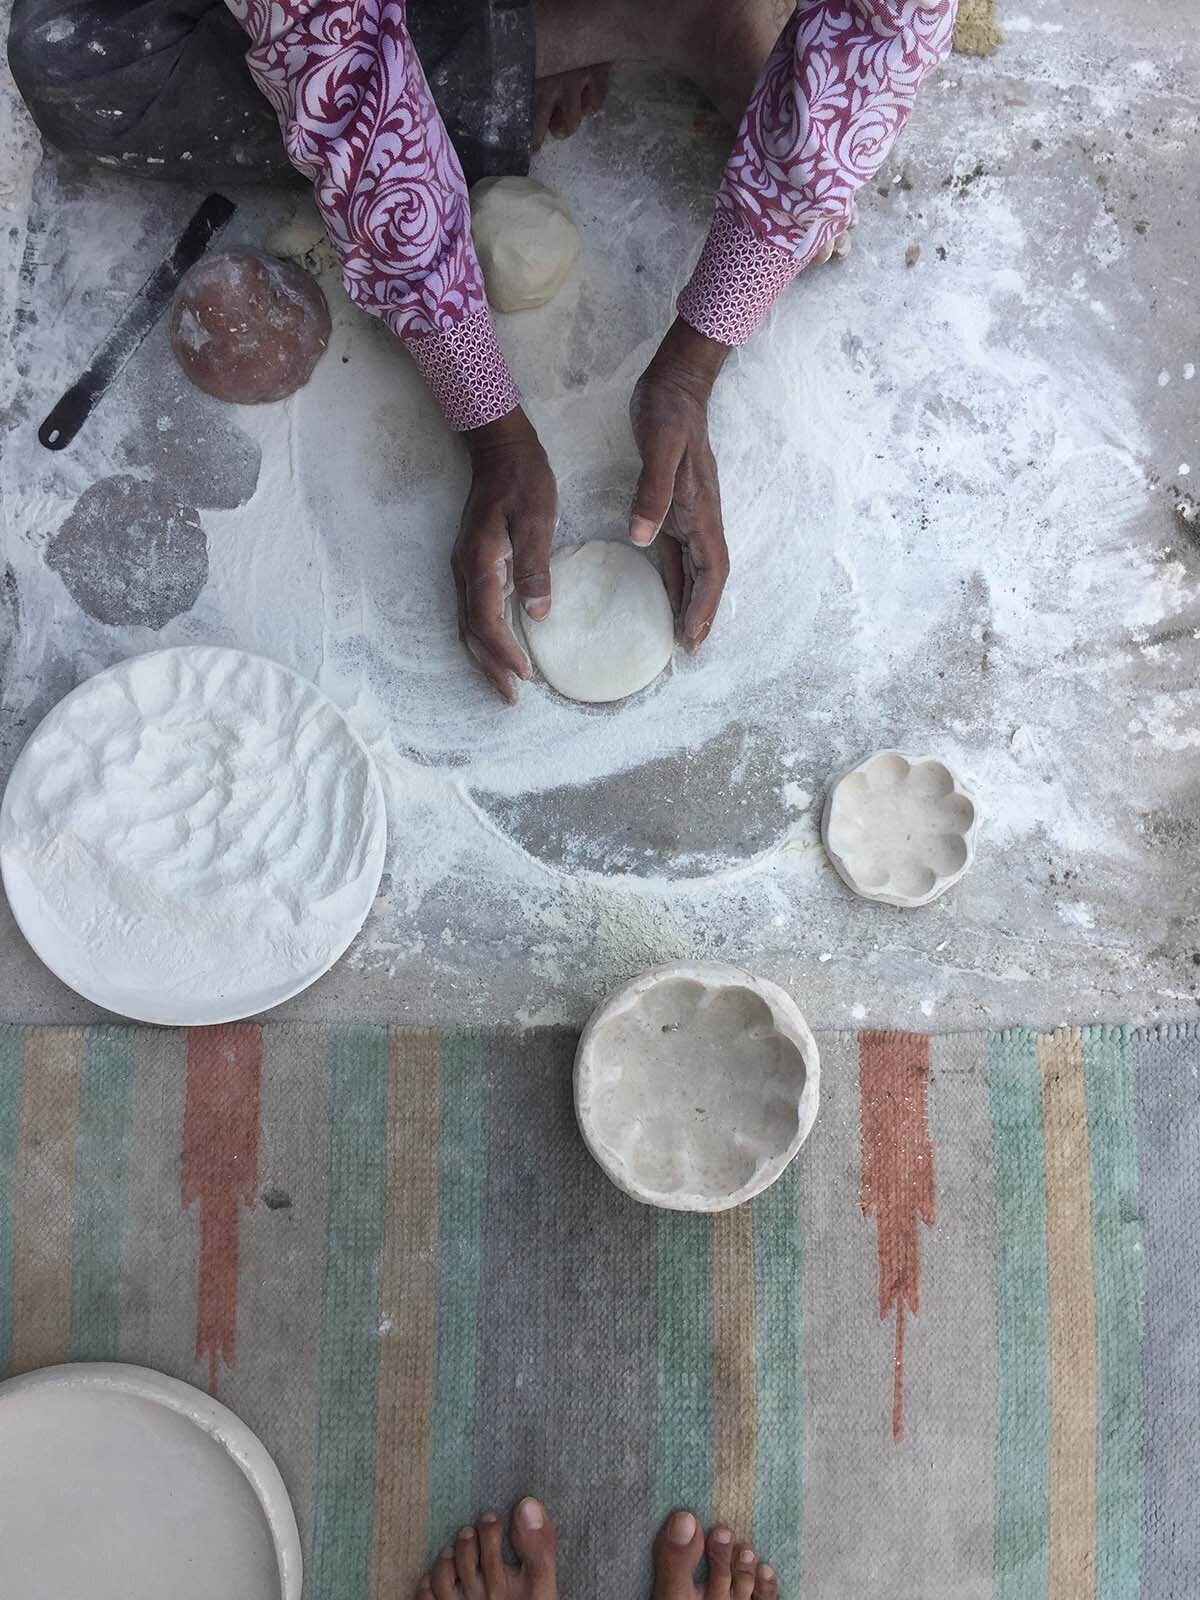
The dough is prepared using the quartz and binding material like glass powder, katira (tree gum), saji (rock salt), and multani mitti (fullers earth). It is kneaded just like regular dough though never reaching a dough-like consistency, it remains very granular.
Sunitaji kneading the dough
The initial process
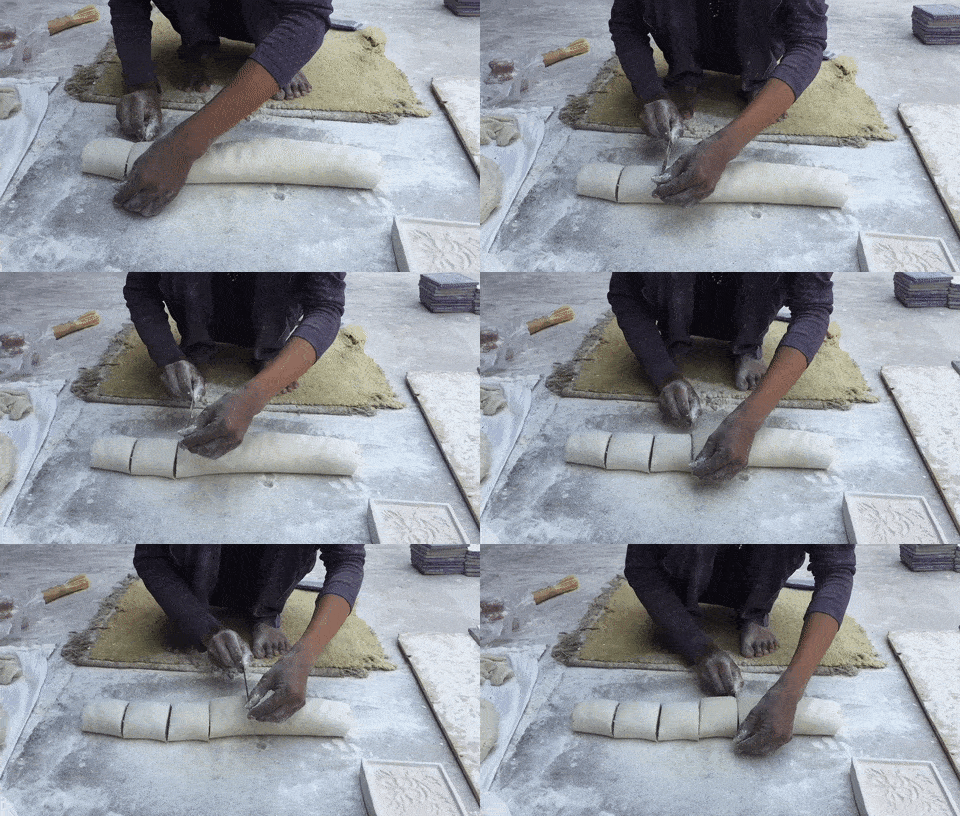
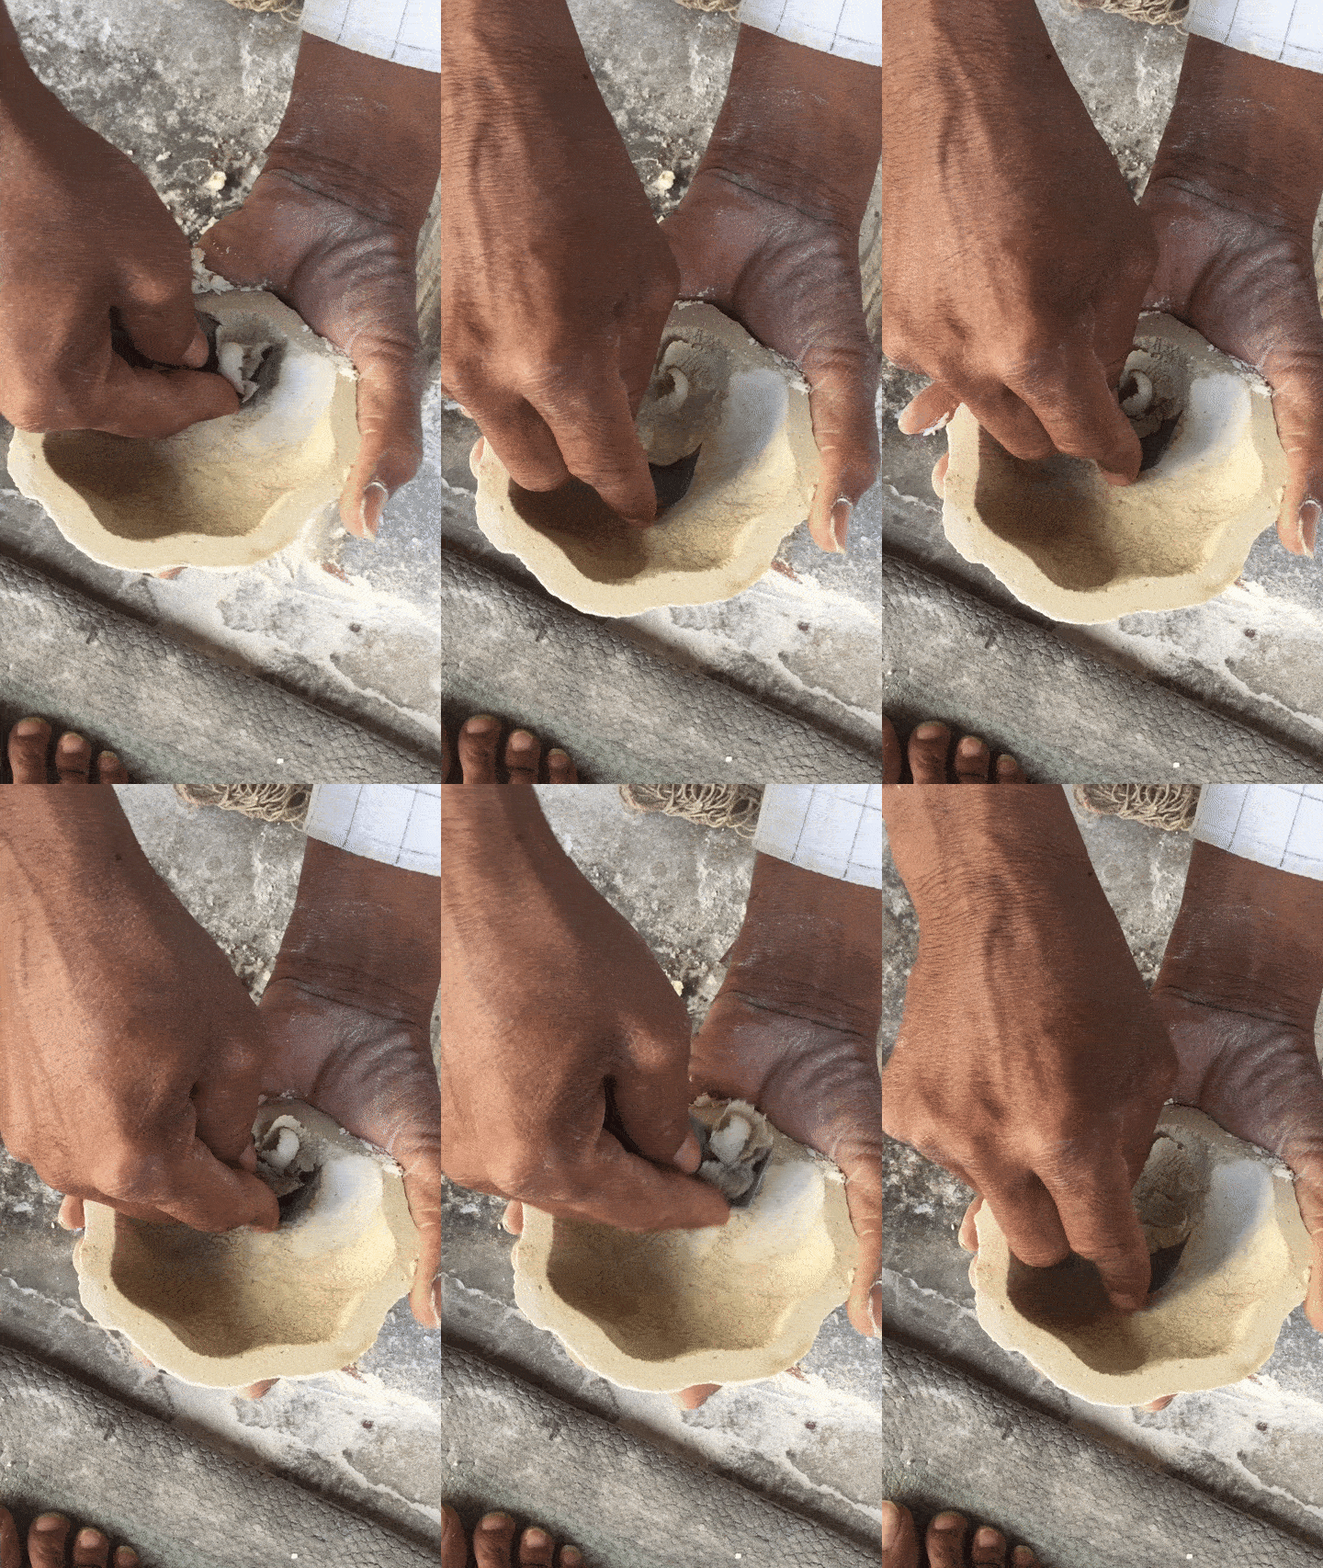
The dough is flattened out under under the even and rhythmic pounding of a stone tool. The same tool is used for making flatbreads(bajre ka roti) in the region. The flattened dough is then placed on its mold. The extra material cut out, mixed back into the main dough, and reused.
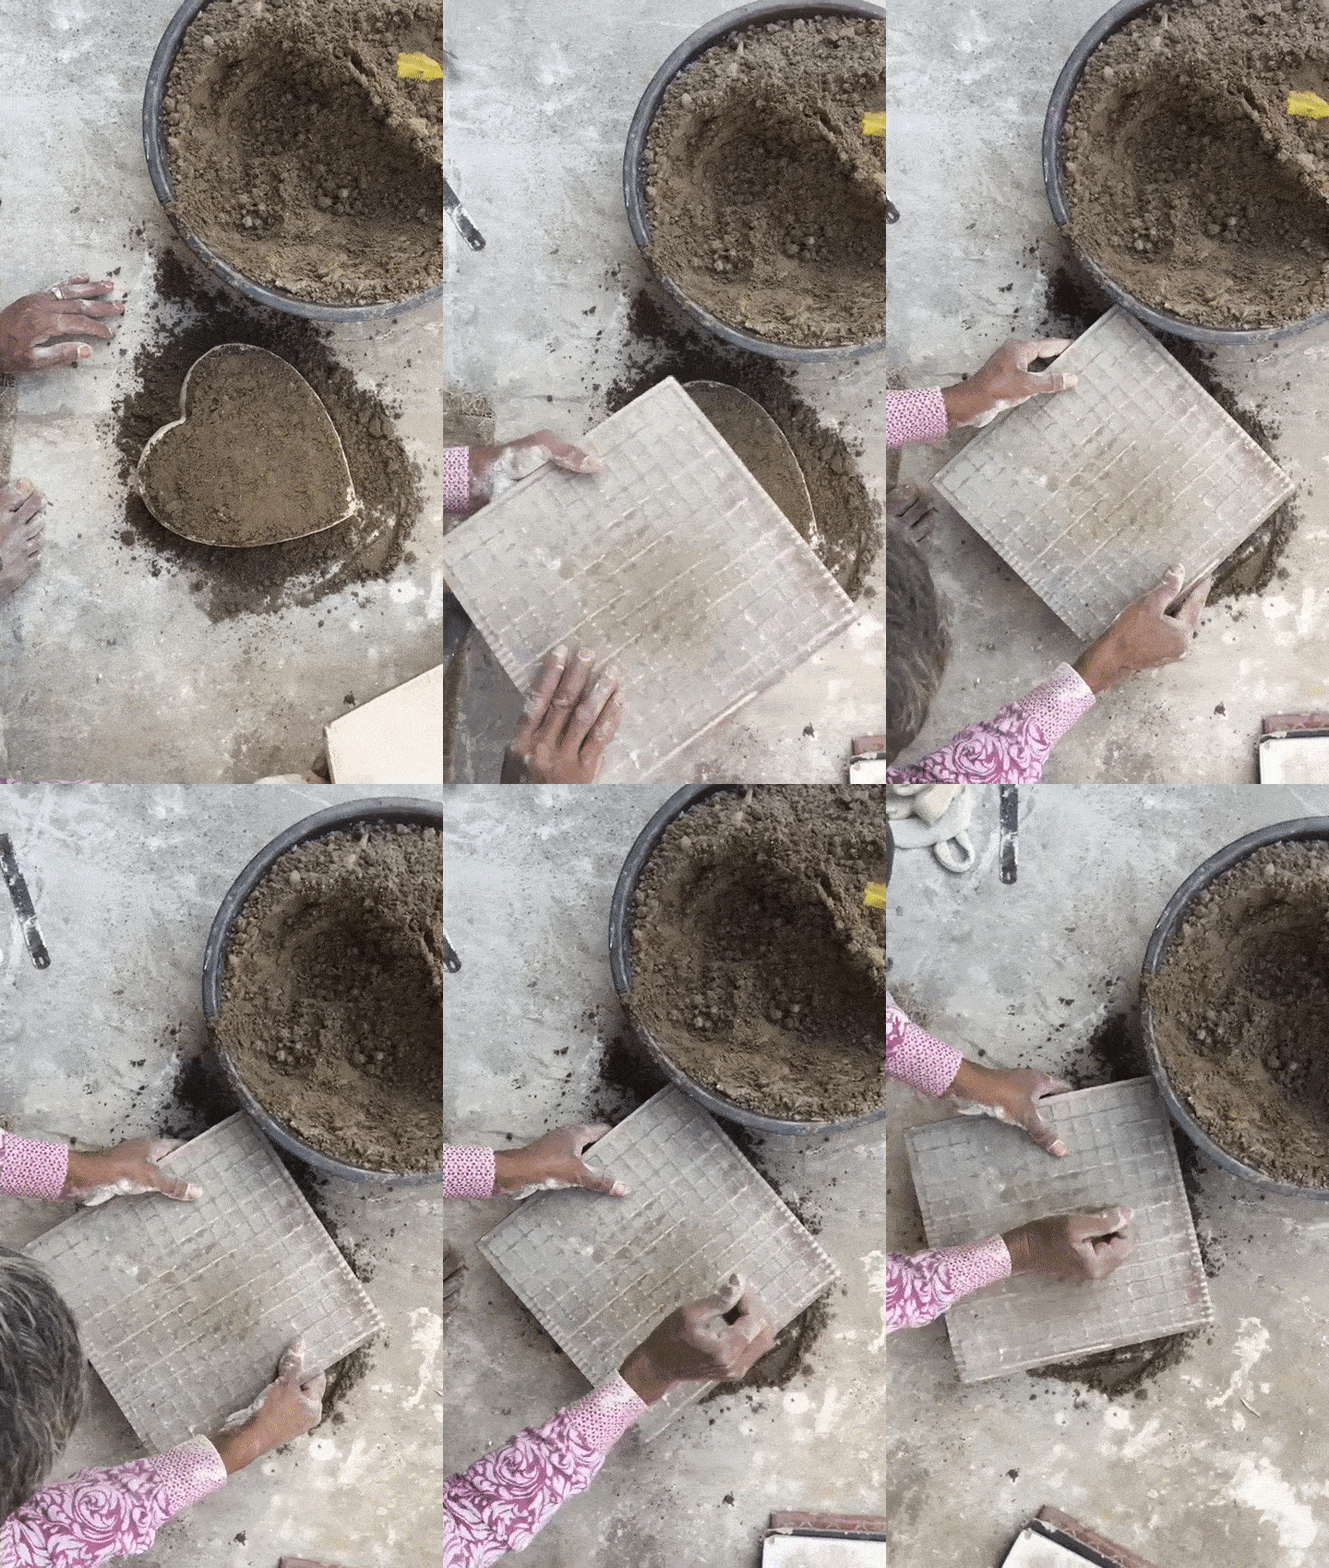
The dough-lined mold is filled up with soil or ash to get the perfect impressions. It feels similar to baking when the pie crust is filled with apples, only this pie is indigestible. The thus prepared molds are flipped, placed in the sun, and dried for a day or two, depending on the weather conditions. Fortunately for this craft Rajasthan is one of the hottest states in the country.
Here, Chotelalji is making a quarter plate
Assembling, sun drying & sanding
The impressions from the molds after drying are cleaned, sanded, and scraped until they reach a very refined quality. Many different impressions are joined together with the same dough to build one piece.
One ordinary vase is comprised of at least four to six mold impressions combined together. At each stage of joining a day or two for drying is added and another for sanding. This makes it a very long and slow process.
Want to build a vase?
Here is how.
Prepare the dough & select your mold

After placing, cut off the extra dough

Fill your mold completely with soil or ash
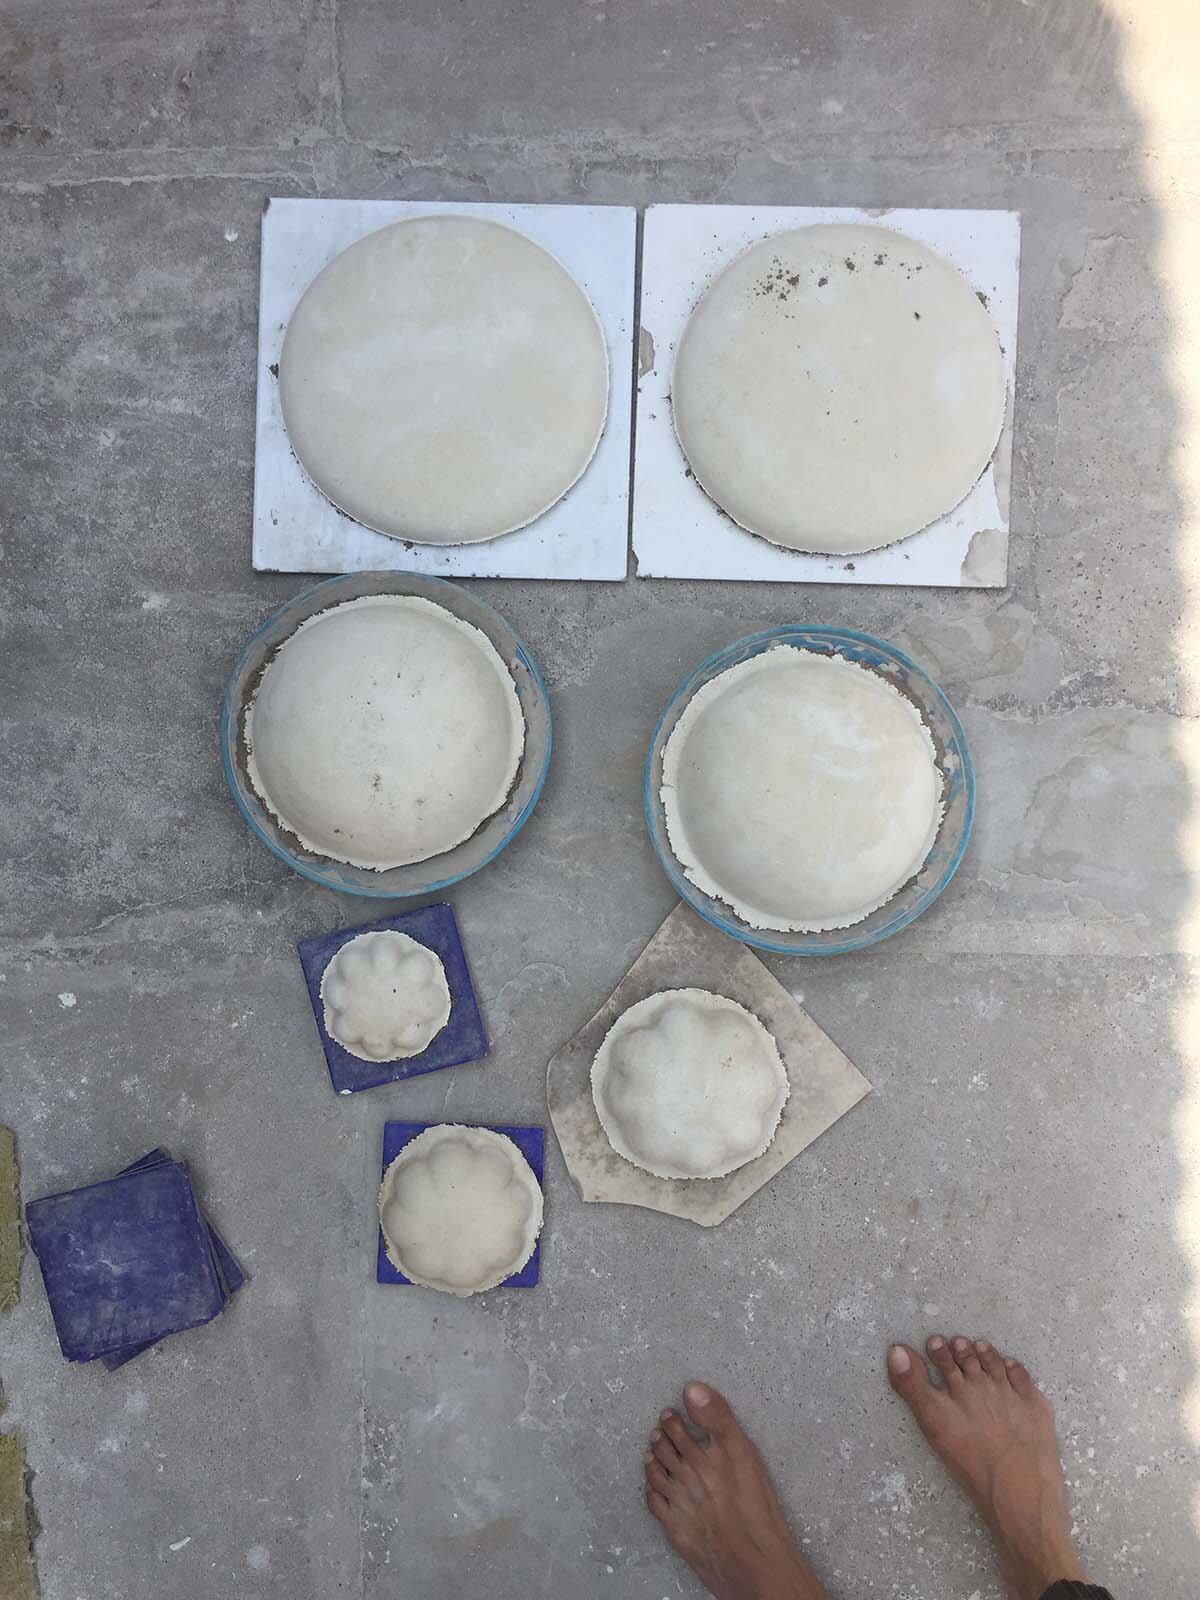
Press down, flip it over, & keep it for drying
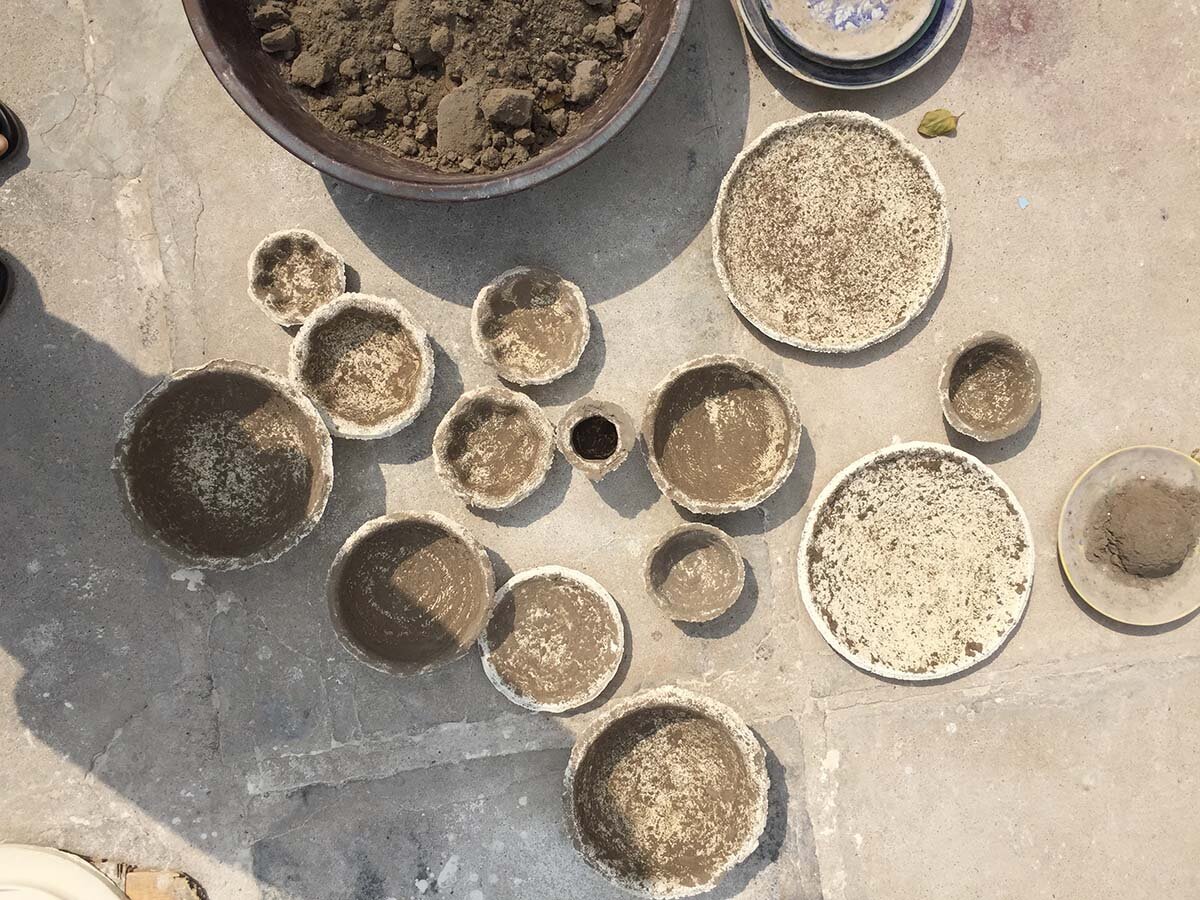
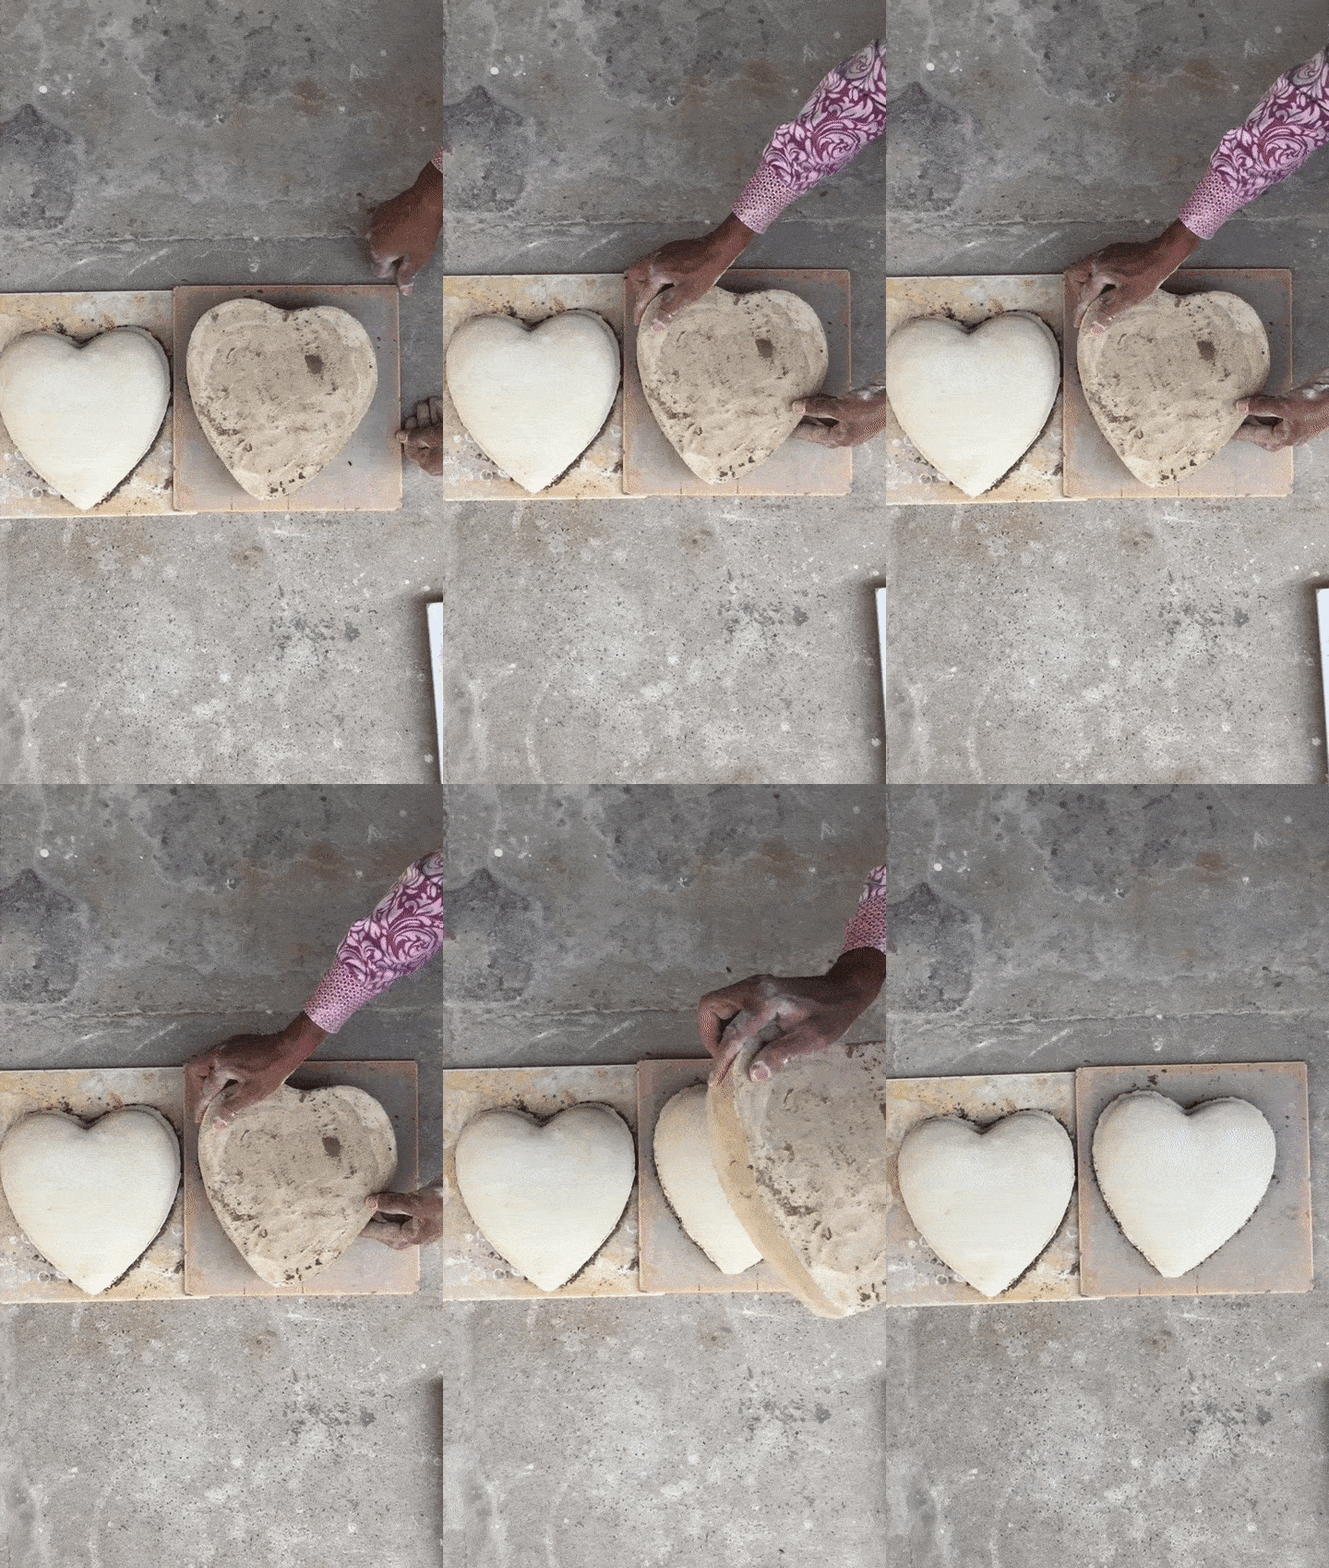
Remove soil and let it continue to dry
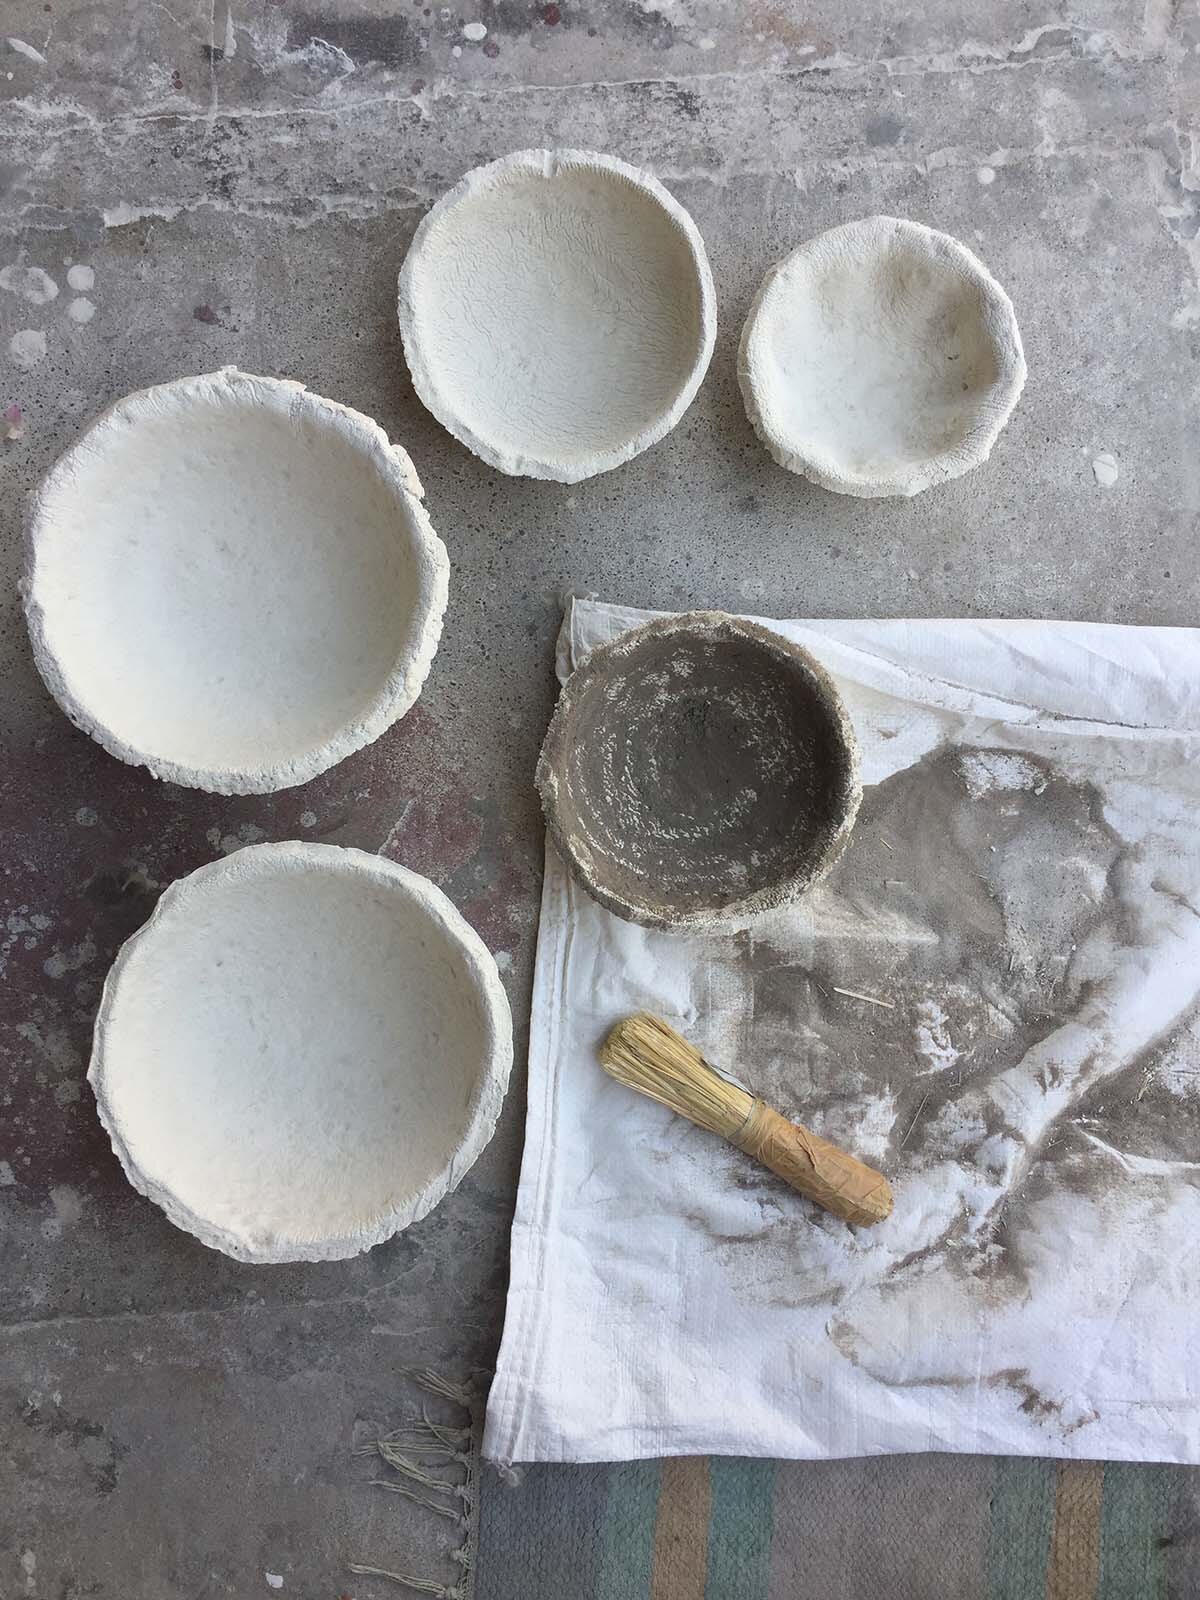
Brush off soil from all your pieces

Prepare for a long tedious process of sanding
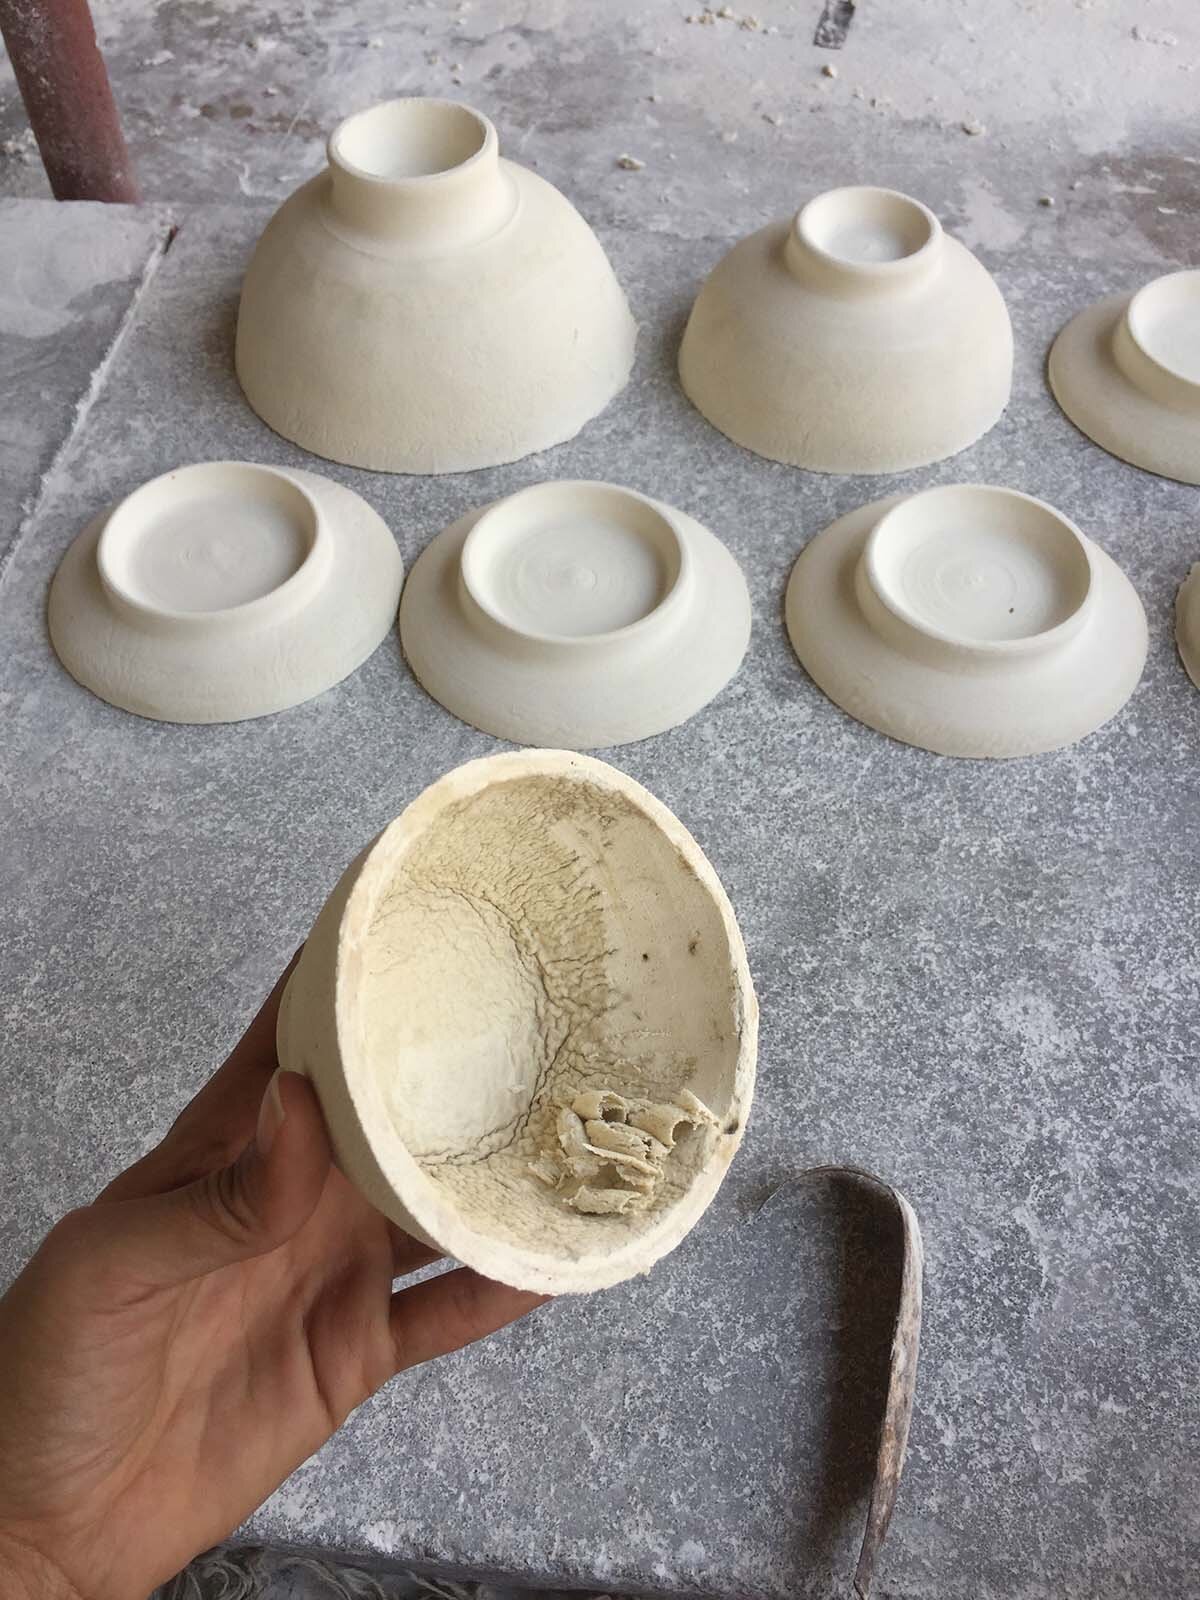
Scrape the insides for an even glaze coat

Continue sanding until you refine every surface
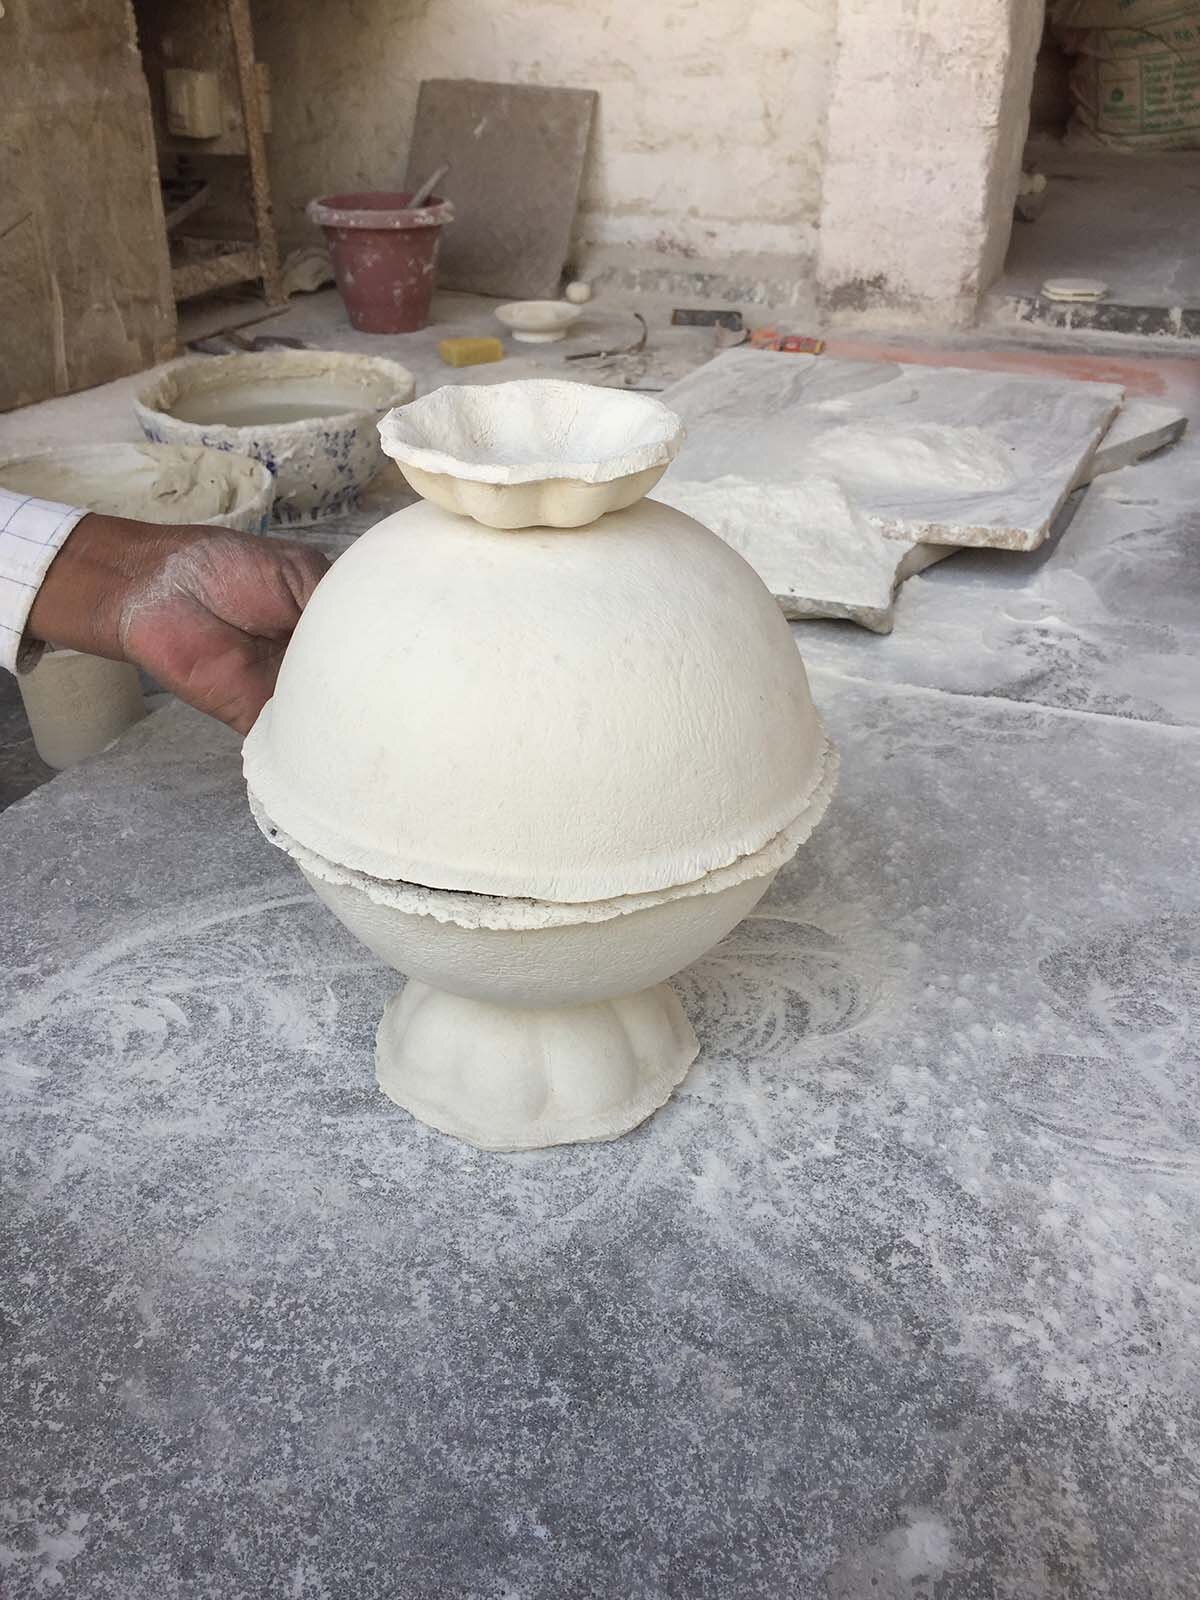
Sneak peak of where you are heading

Build the neck and feet on the wheel
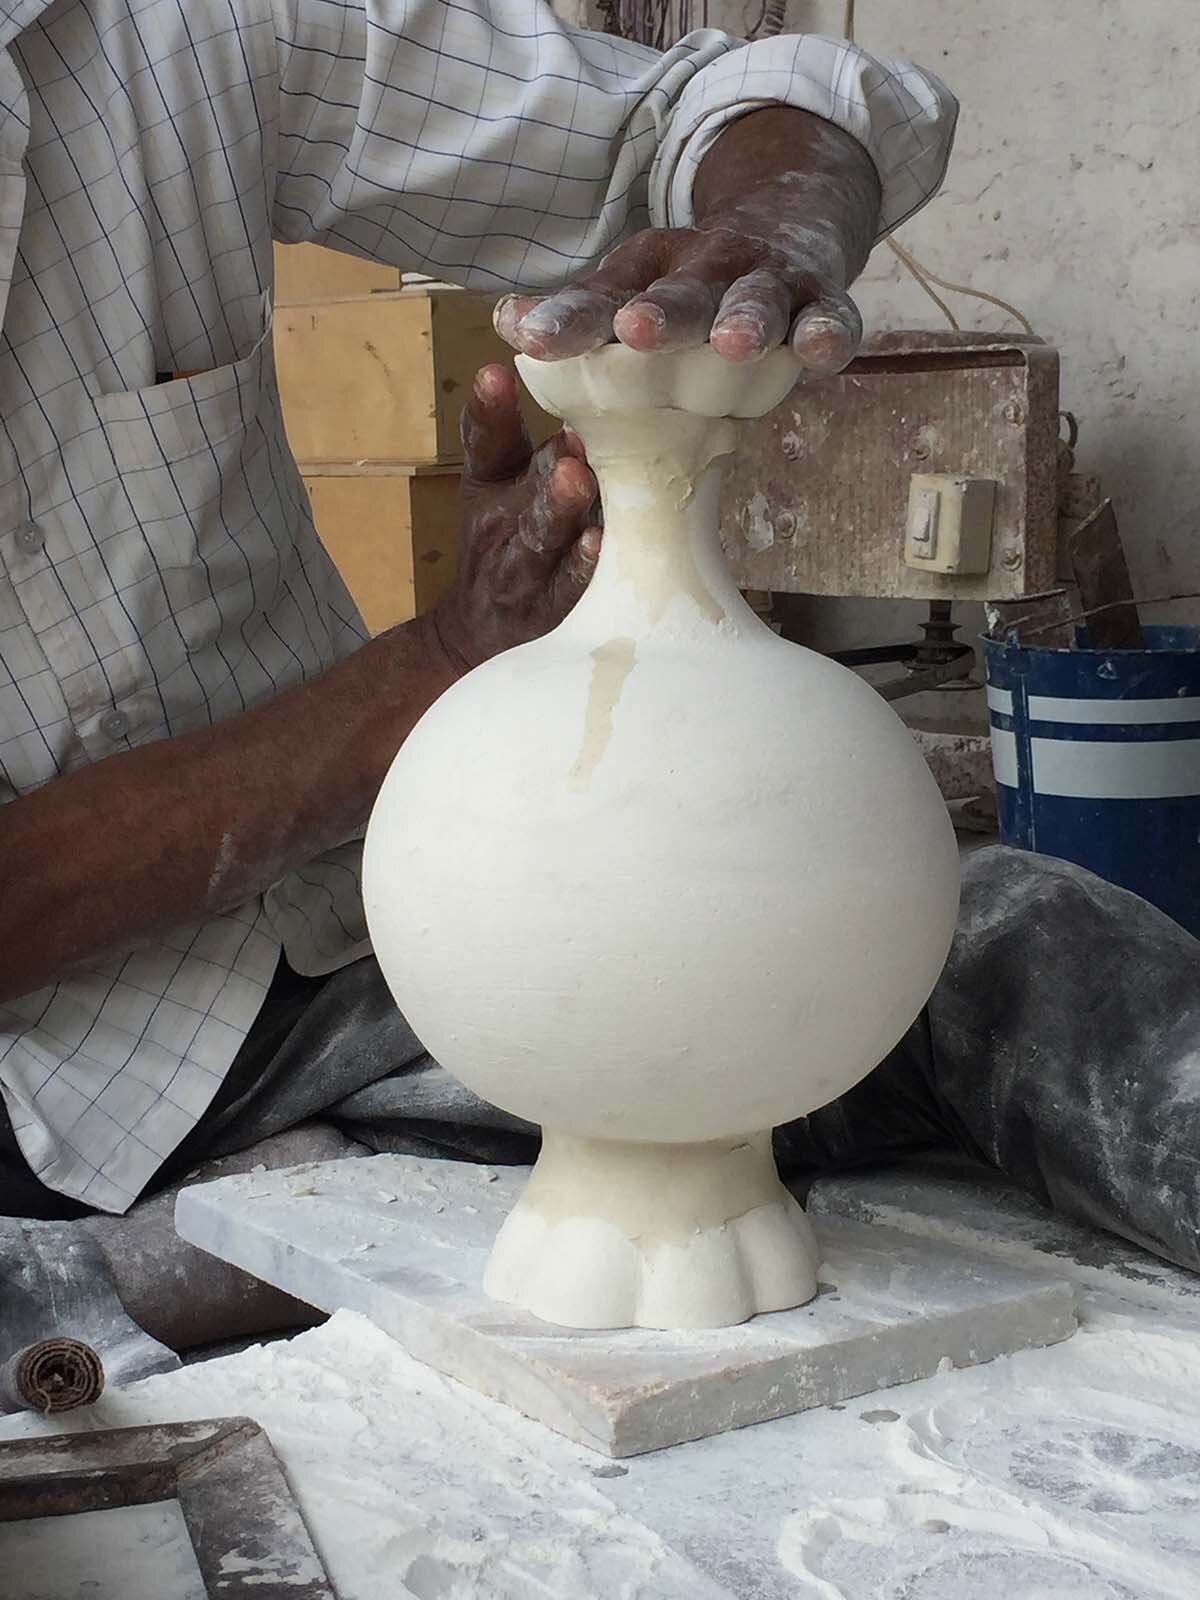
Get it together, join with dough, and dry
Scrape
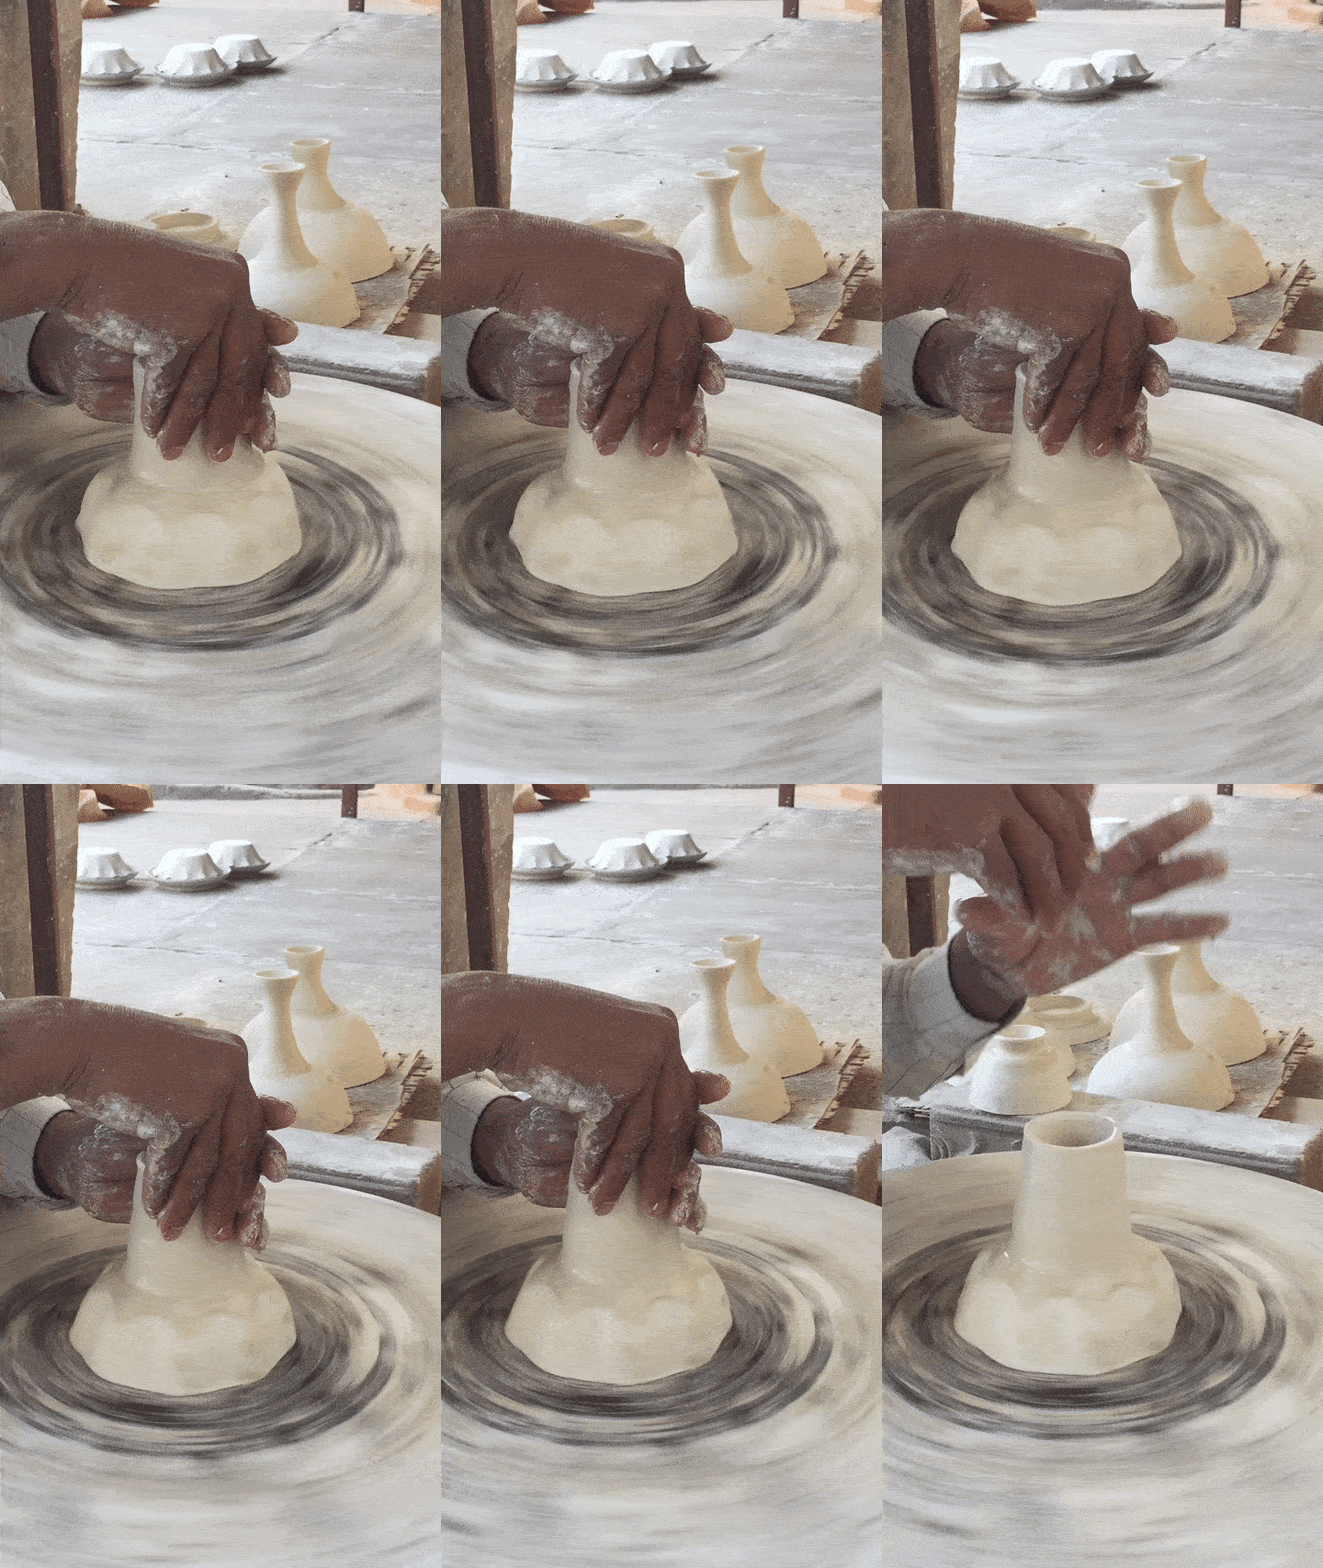
Wheel
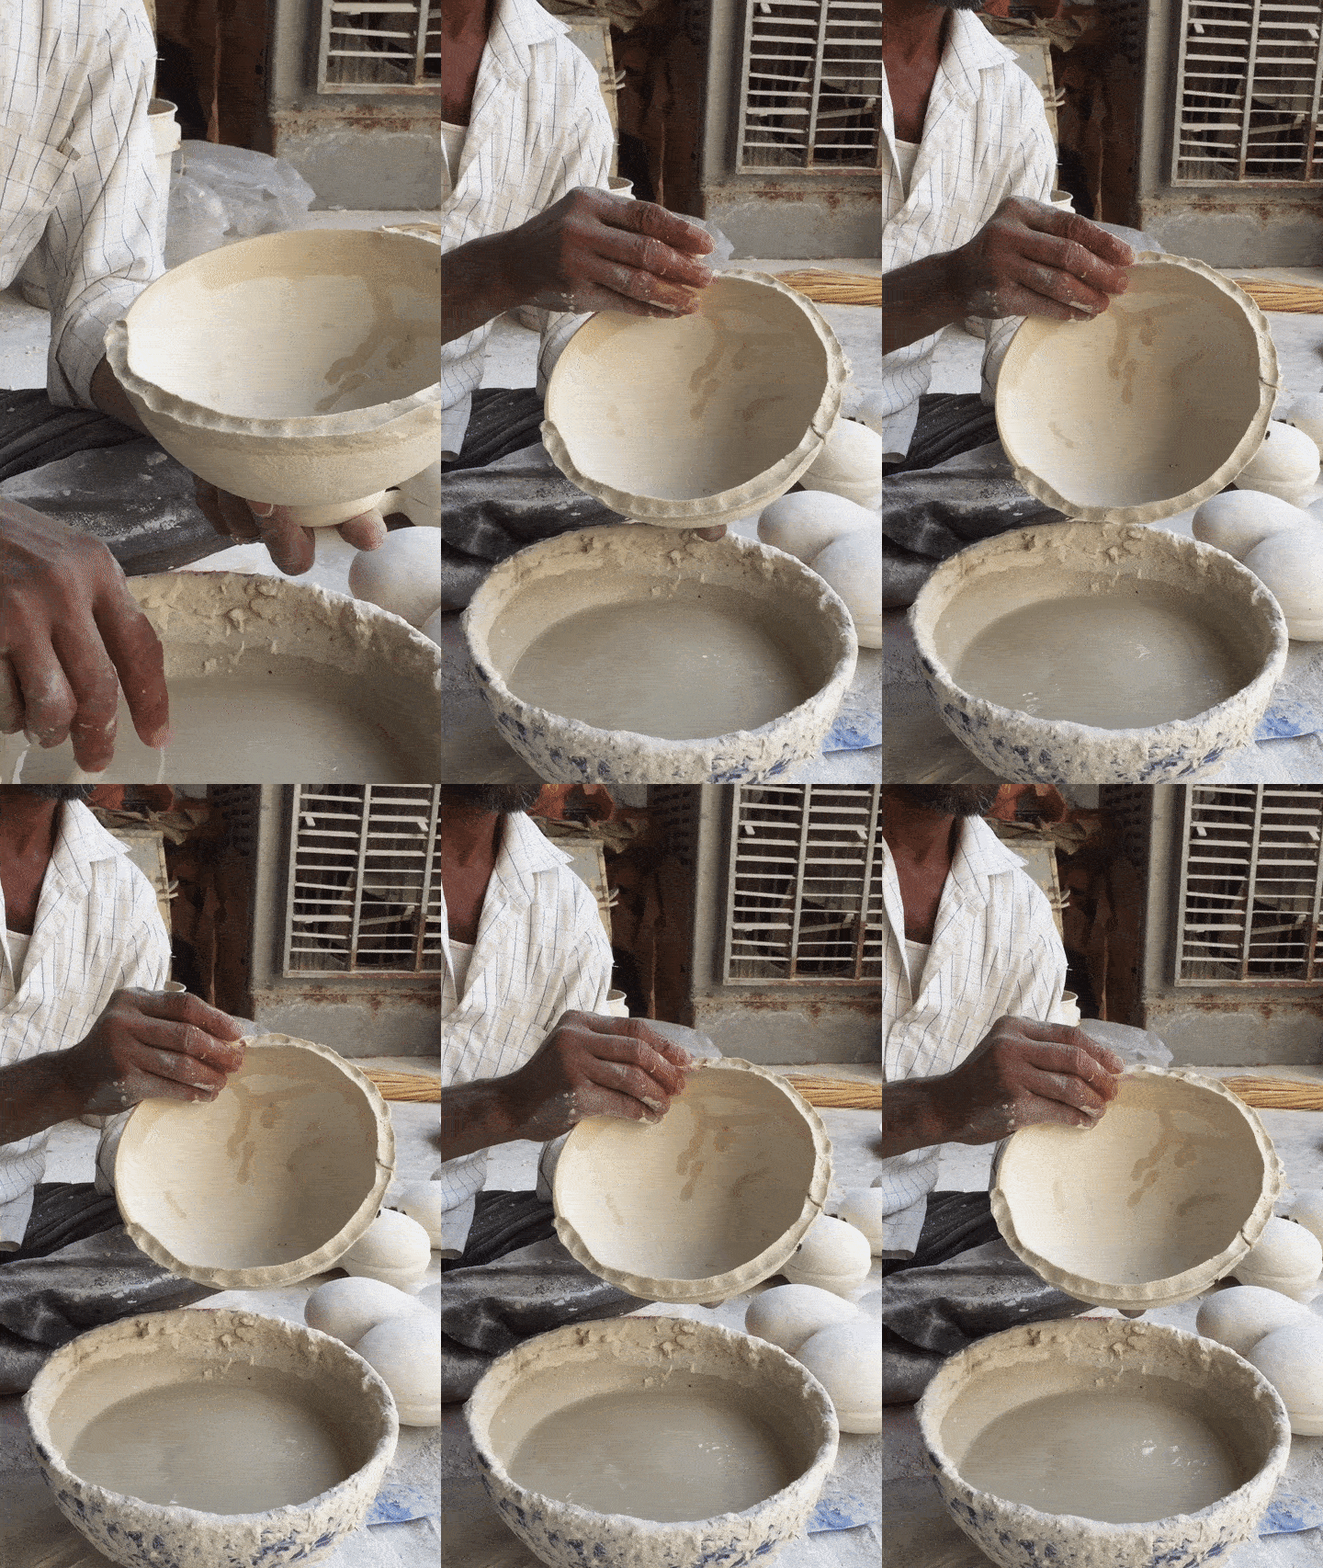
Paste
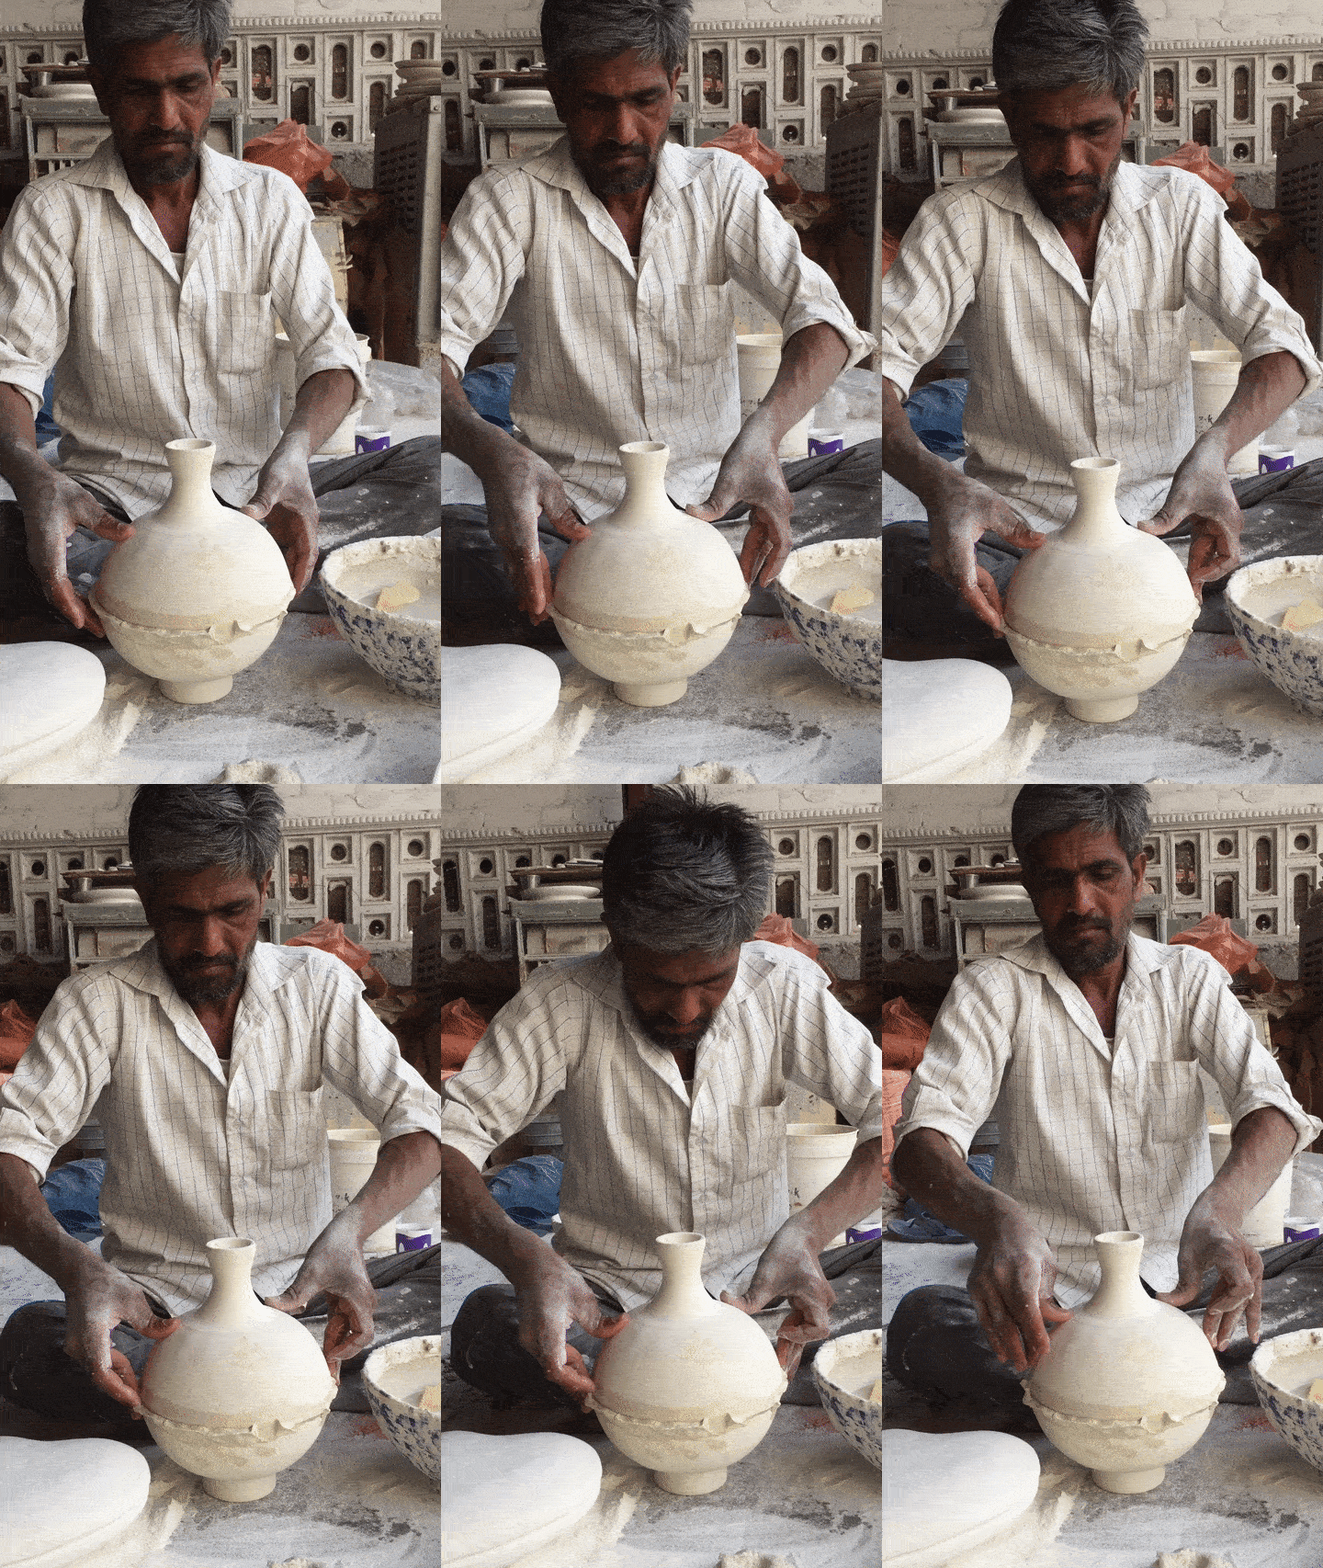
Join
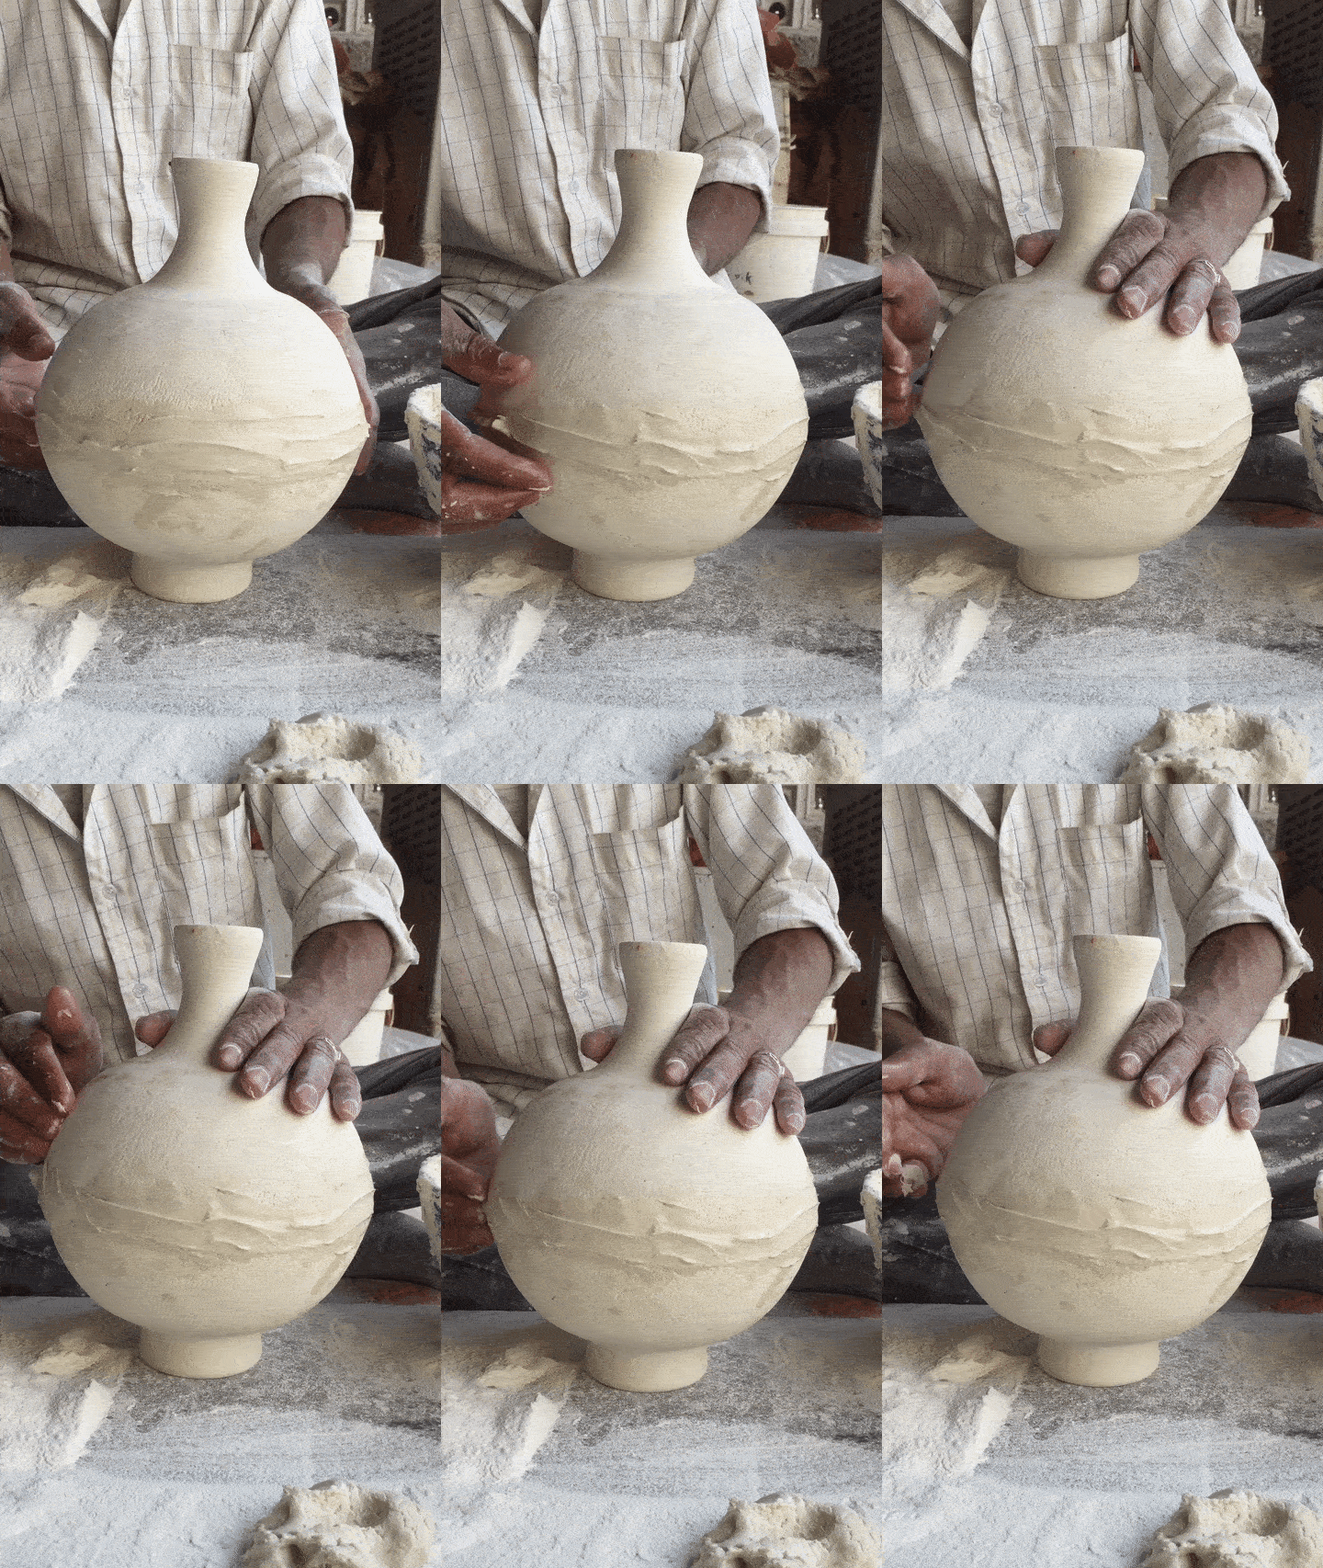
Smoothen
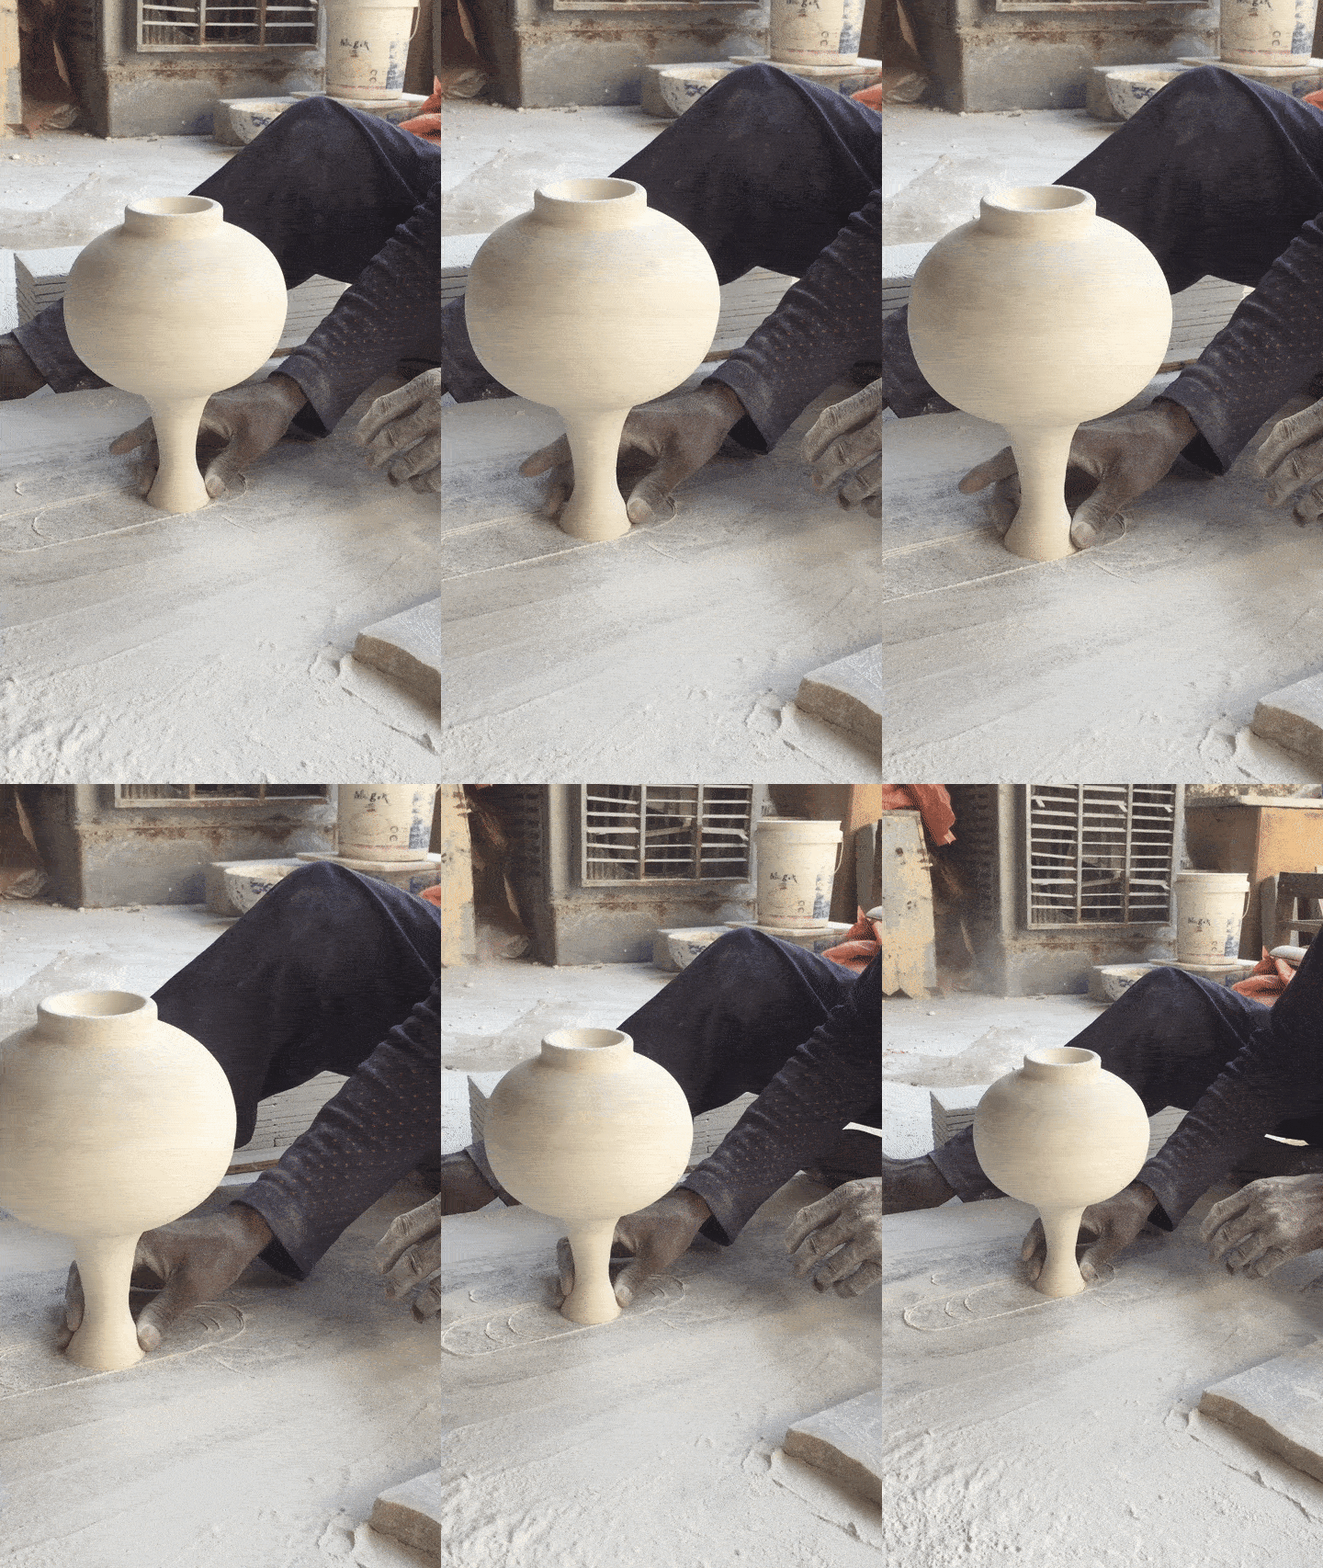
Sand
“One ordinary vase can easily be comprised of at least four to six mold impressions combined together.”
What it takes up in time, it makes up in quantity. Because of the use of molds you can get countless identical pieces. So all that time is worth a lot of pieces. At an individual level the process can seem long and daunting but at the workshop tasks are allocated to different craftsmen. Everyone works synchronised in a direction. This way time is managed very efficiently.
Painting with oxides
Once the piece is assembled it is covered with a thin layer of liquid dough to fill any remaining holes. It is then coated with another layer of slip to make the surface smoother for painting.
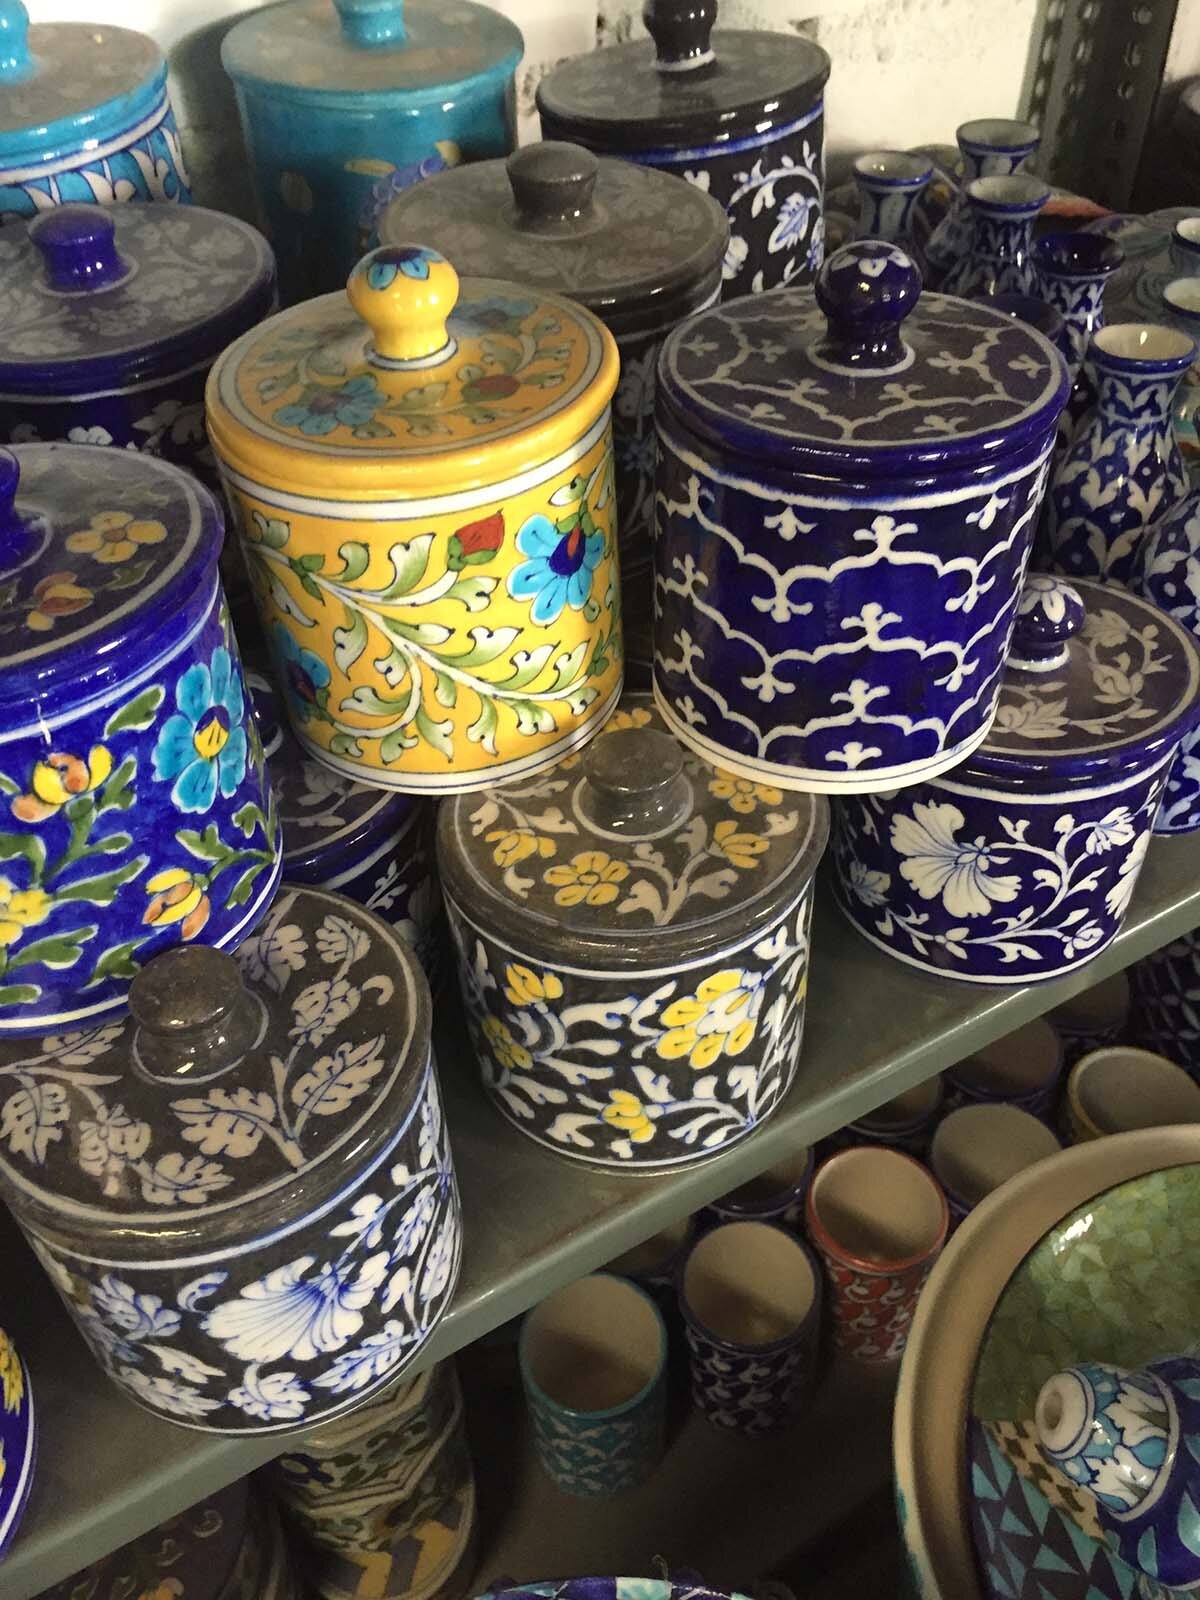
A variety of mineral oxides are generally used for painting. Cobalt oxide is used for blue and black, chromium oxide for green, tin for yellow, and iron is used for red. Featured prominently in all blue pottery that is out there are florals, animals, and geometric patterns.
The workshop also makes its own glaze, but since I did not witness the process, I would find it hard to explain here. The glaze provides protection and adds a glass like shine. It is the last layer that is coated onto the pieces after they are painted and sent in for firing. (Note: there is no bisque fire for the wares)
Jaipur blue blanc pottery!
I was fortunate to execute my own little project alongside the daily affairs at the workshop.
My time at the workshop was mostly spent working the dough, the plaster molds, the endless hours of sanding and joining surfaces, thus that became the story I wanted to convey through my works. It was a part that was largely unknown to people or completely hidden under the decorative glaze.
My forms were inspired by the motifs of the leafs and flowers used Jaipur’s blue pottery, but were themselves kept devoid of any pattern or glaze. The result was these strong, bold shapes that bring the materiality and the process to the fore while also being ornate.
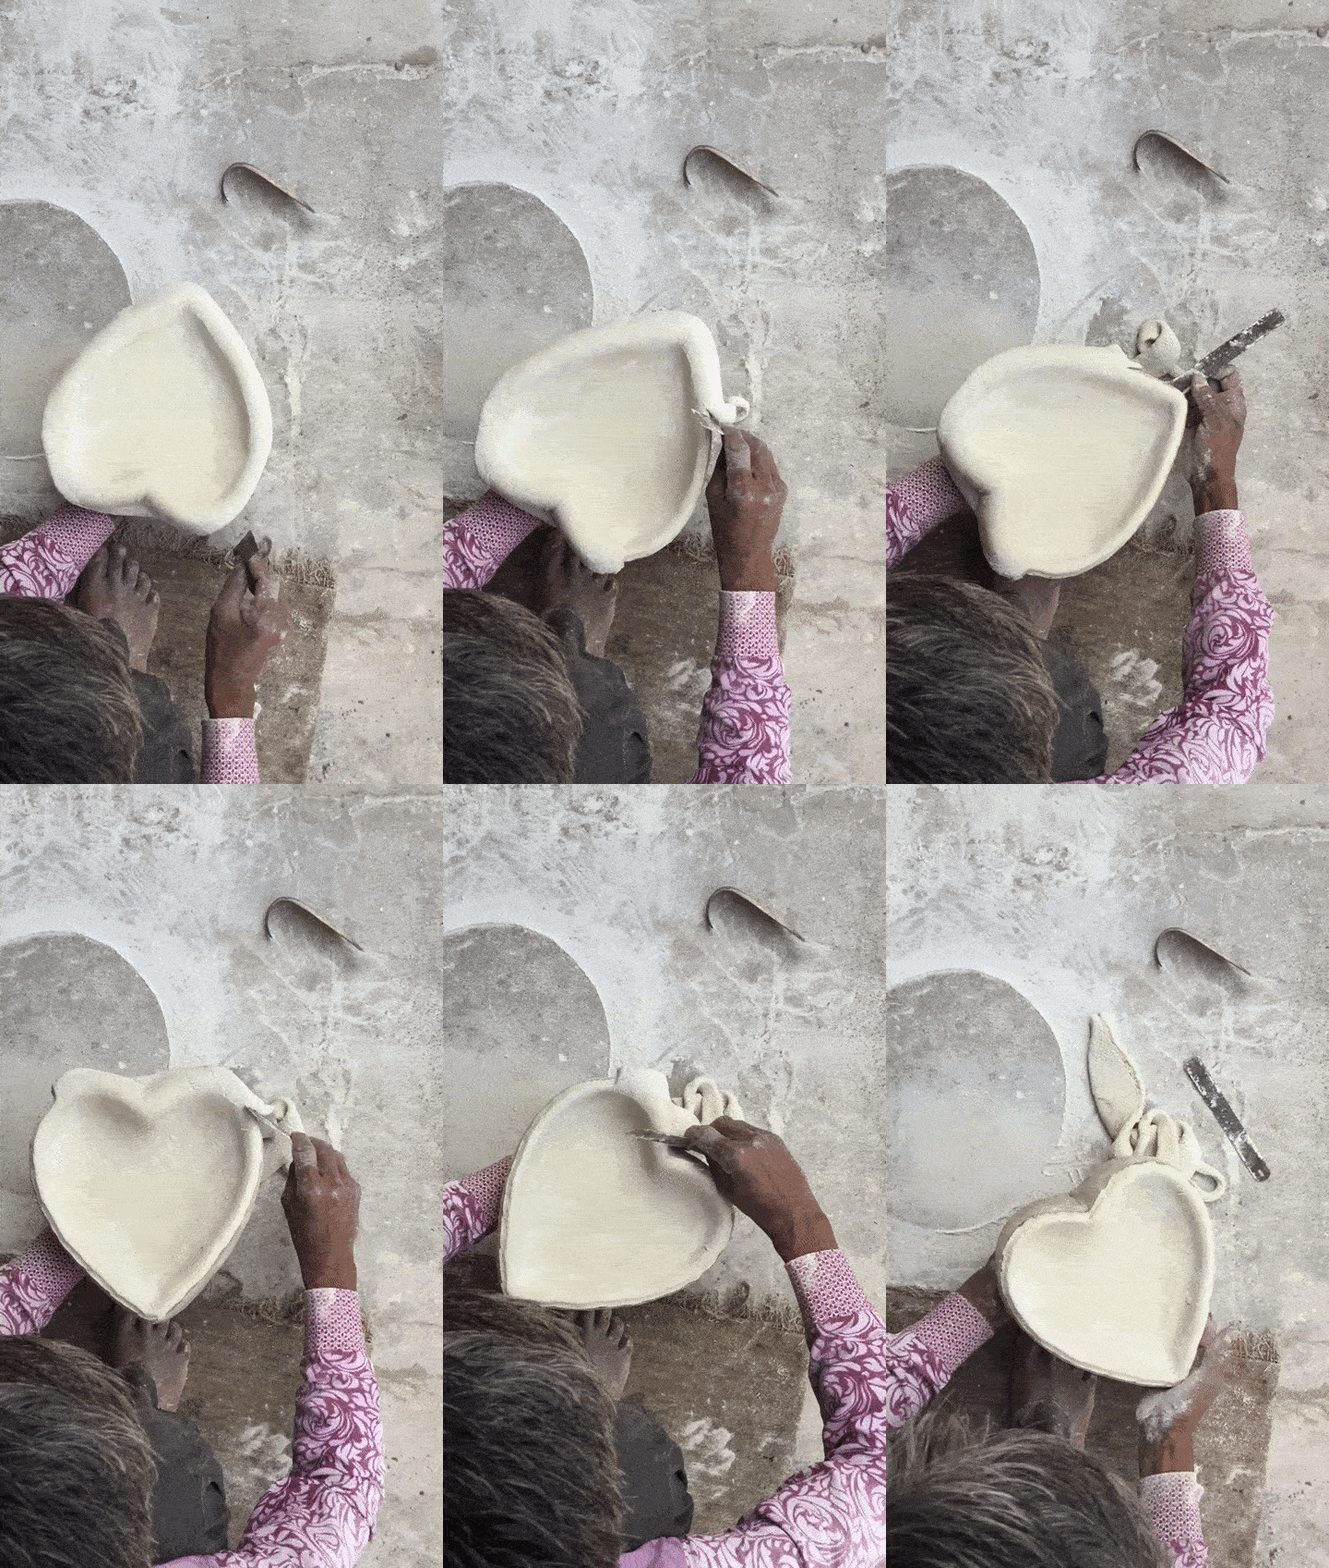
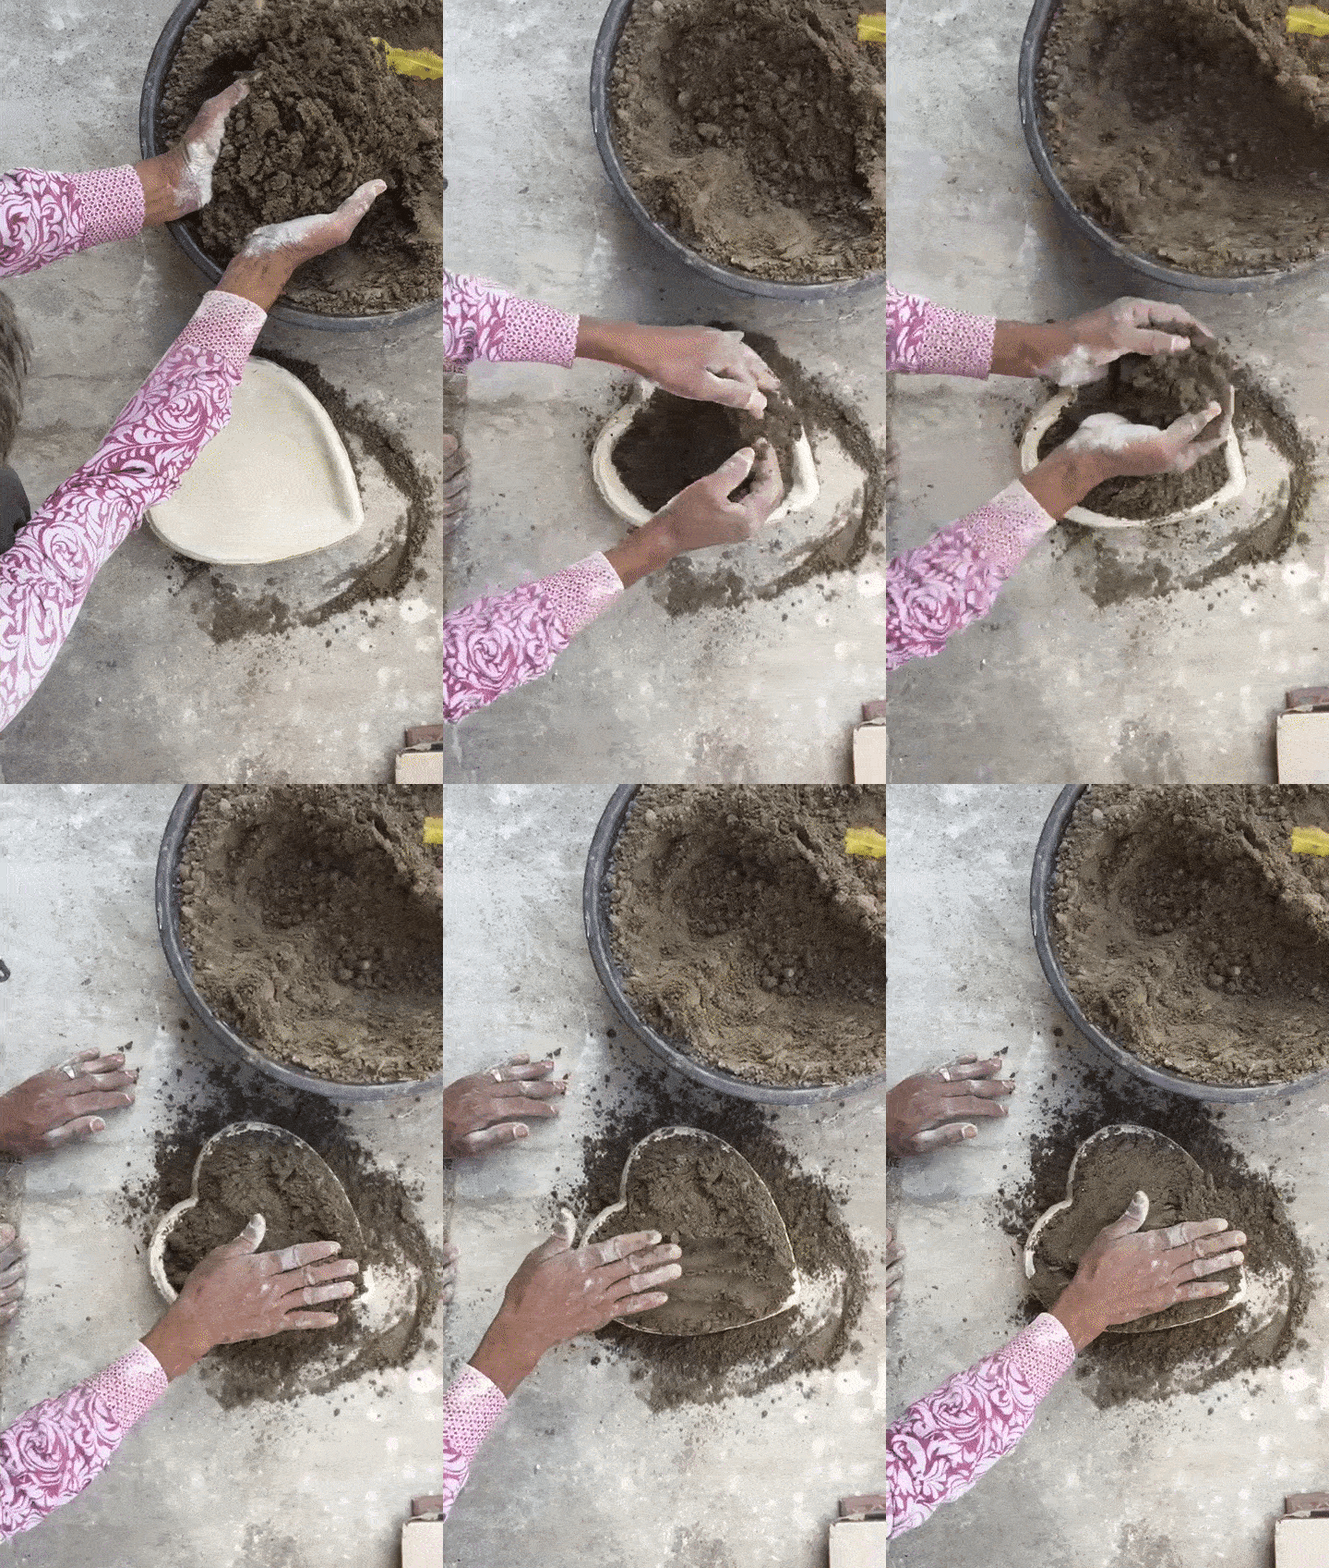


Finally, in the fire
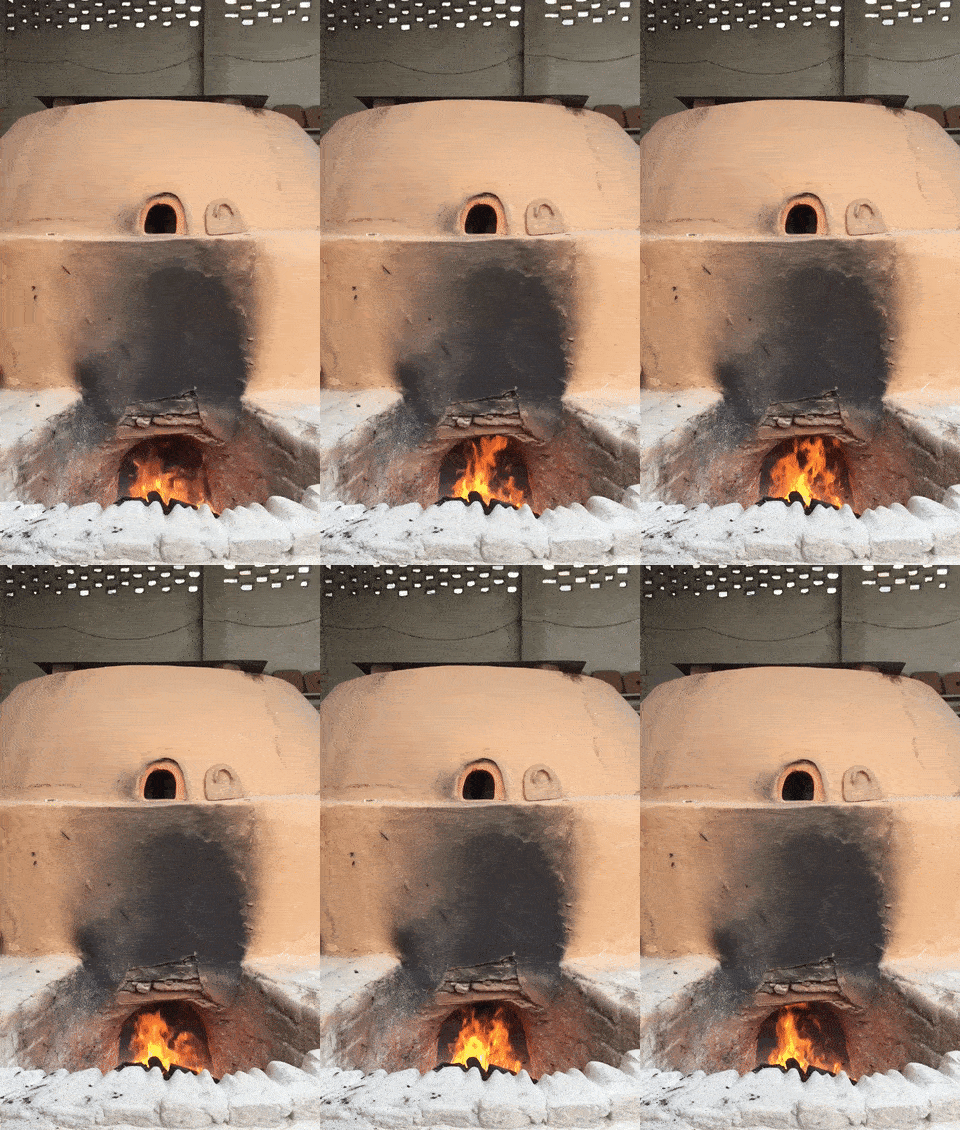
The kiln at the workshop is a traditional one, it is only fired when there are enough works to fill it. The process of loading is very systematic as it is after all the most crucial part of the whole process. The firing stage is quite literally the make or the break moment.
All works are meticulously laid on trays and then arranged in the kiln by Jagdishji who needs to be inside the kiln for this part. The firewood to feed the kiln comes in truckloads. During the firing process which is about six to eight hours, the temperature reaches up to 800 degrees.
Once the fire is out, it is left to cool for two days. If this is not done, there are high chances for the glaze to crack on the surface. There are other possibilities that lead to damages as well. Sometimes works can topple or burst and cause further breakage inside the kiln. Sometimes the colors can leak under the glaze because they were applied too thickly, as I had done in some of my works

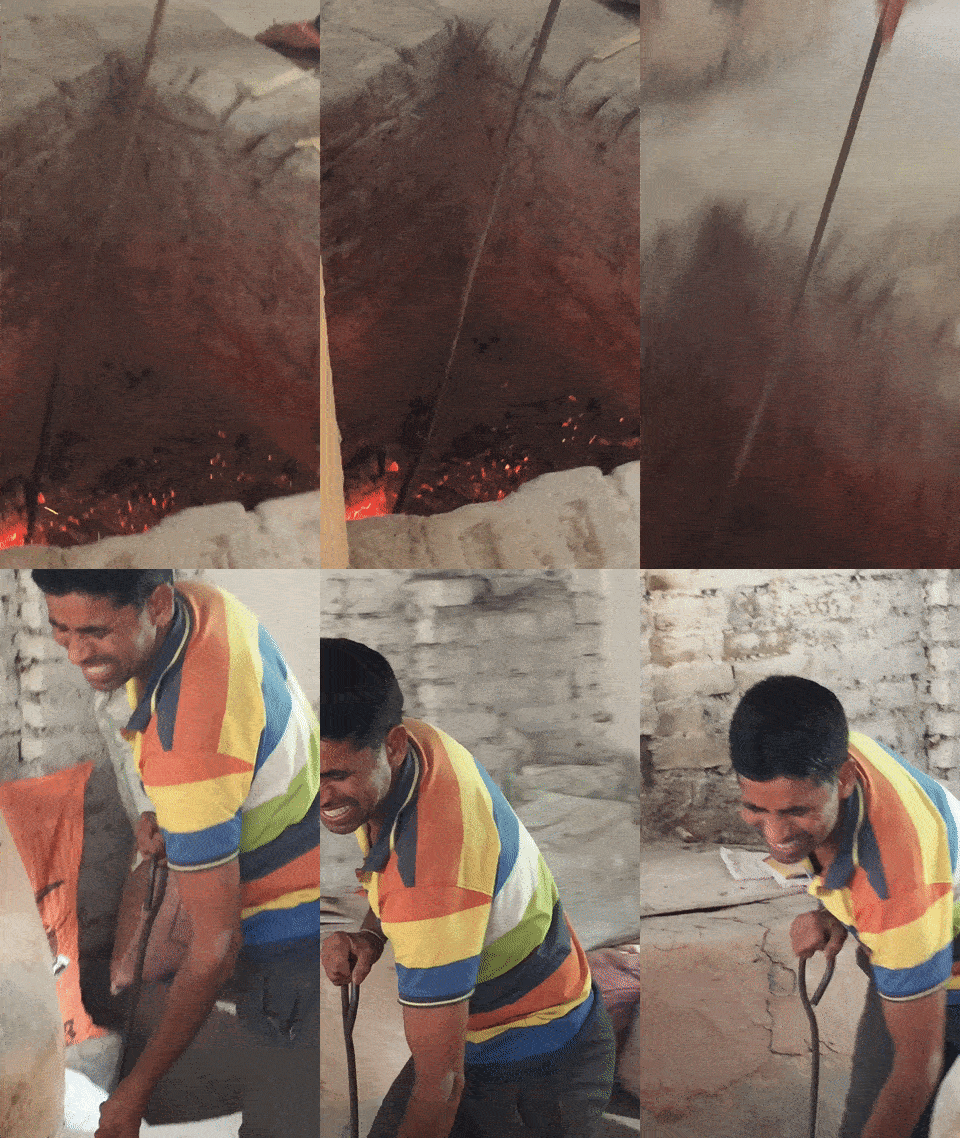
Nandlalji unloading the kiln
It is super exciting when the kiln finally is opened and the works are revealed one by one. A real teaching moment when you get to learn first hand what you should and shouldn't be doing next time!
While this undertaking might not have a direct application in my current technique as it would require a full set-up to even attempt it again, the experience of working here has surely enriched me and made an impact on my practice today. I look forward to visiting more places where I can learn a local pottery technique by becoming a part of community that preserves and practices it.


